What is "Kintsugi"?
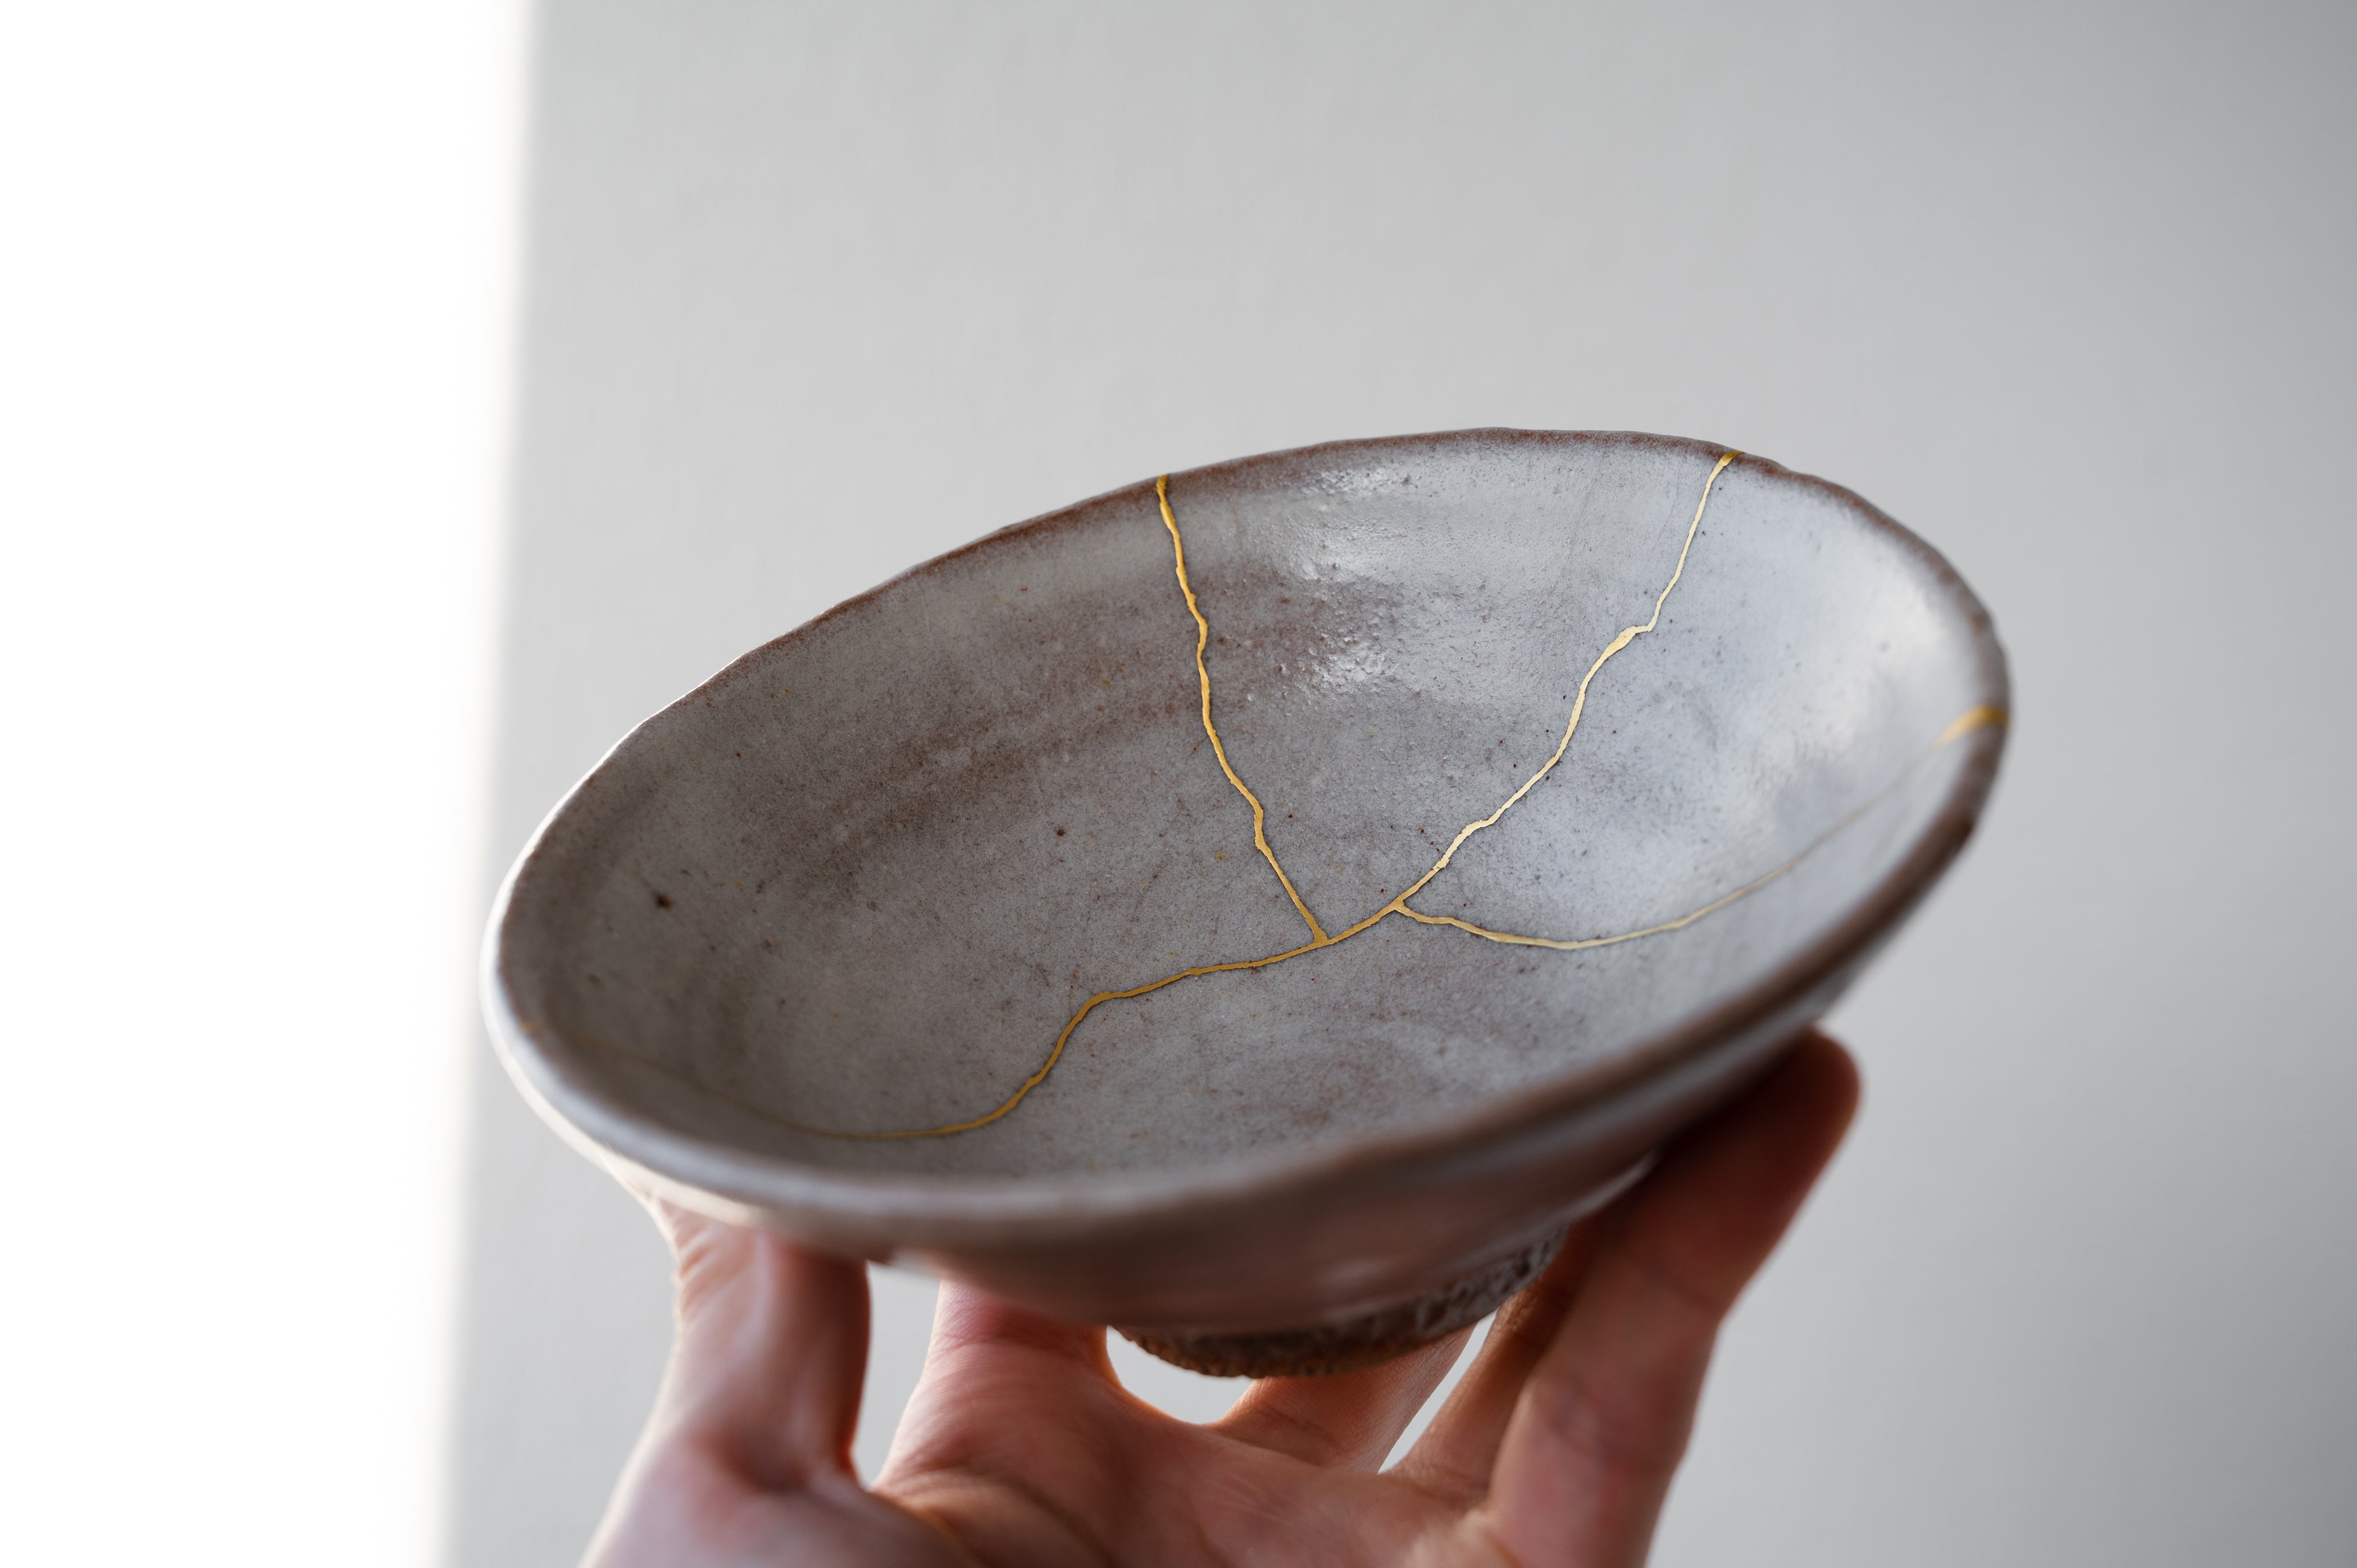
Kintsugi is the Japanese traditional way of repairing broken ceramics.
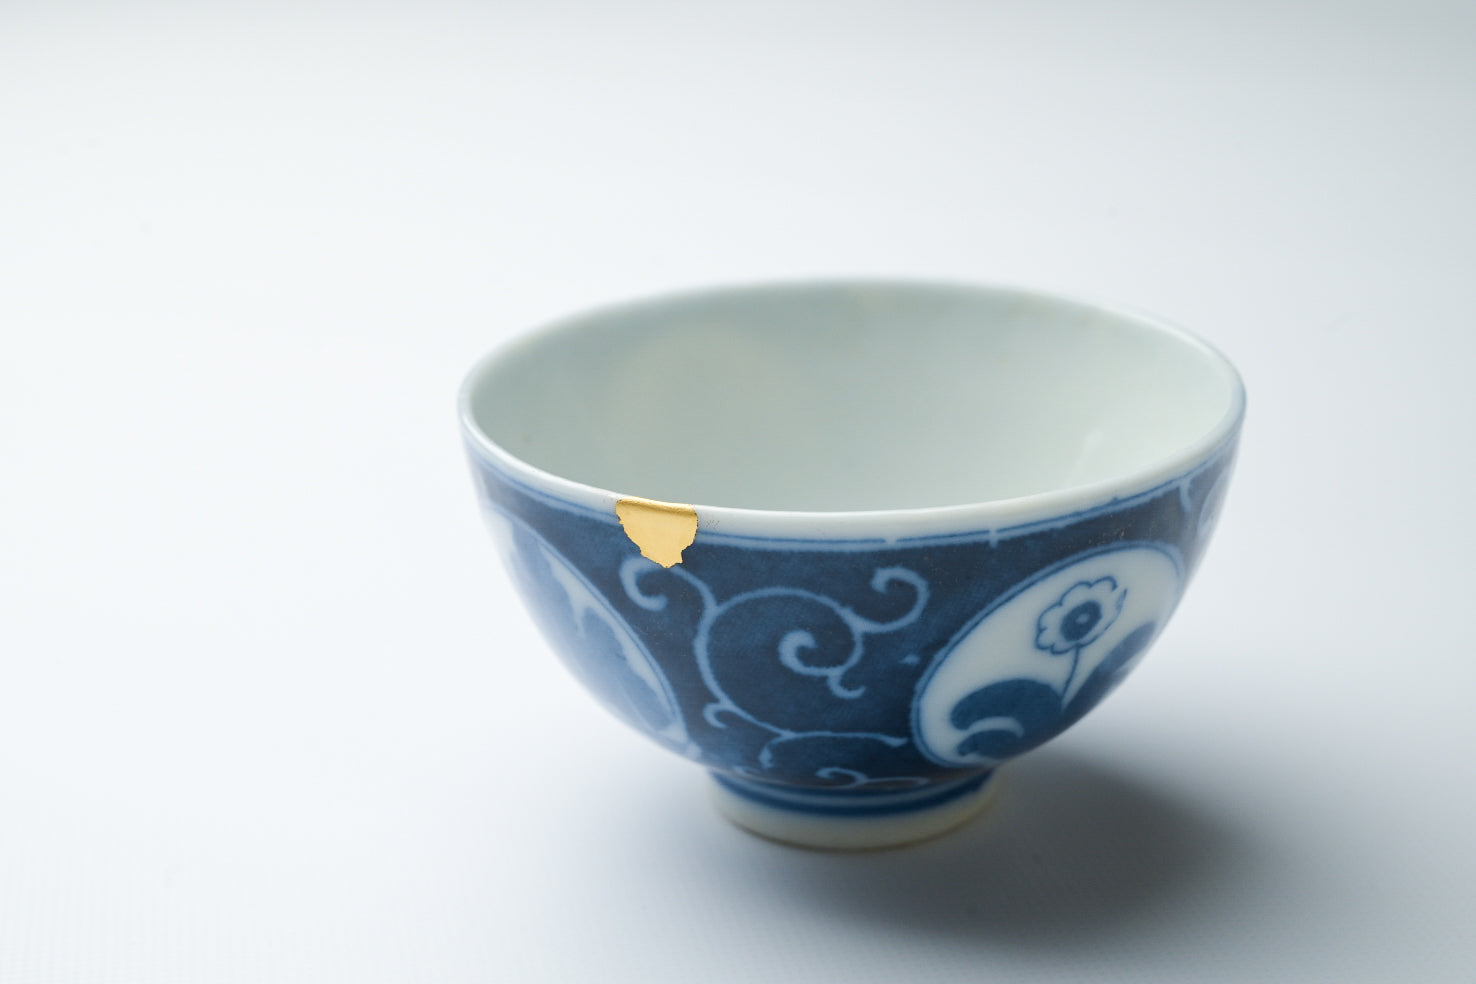
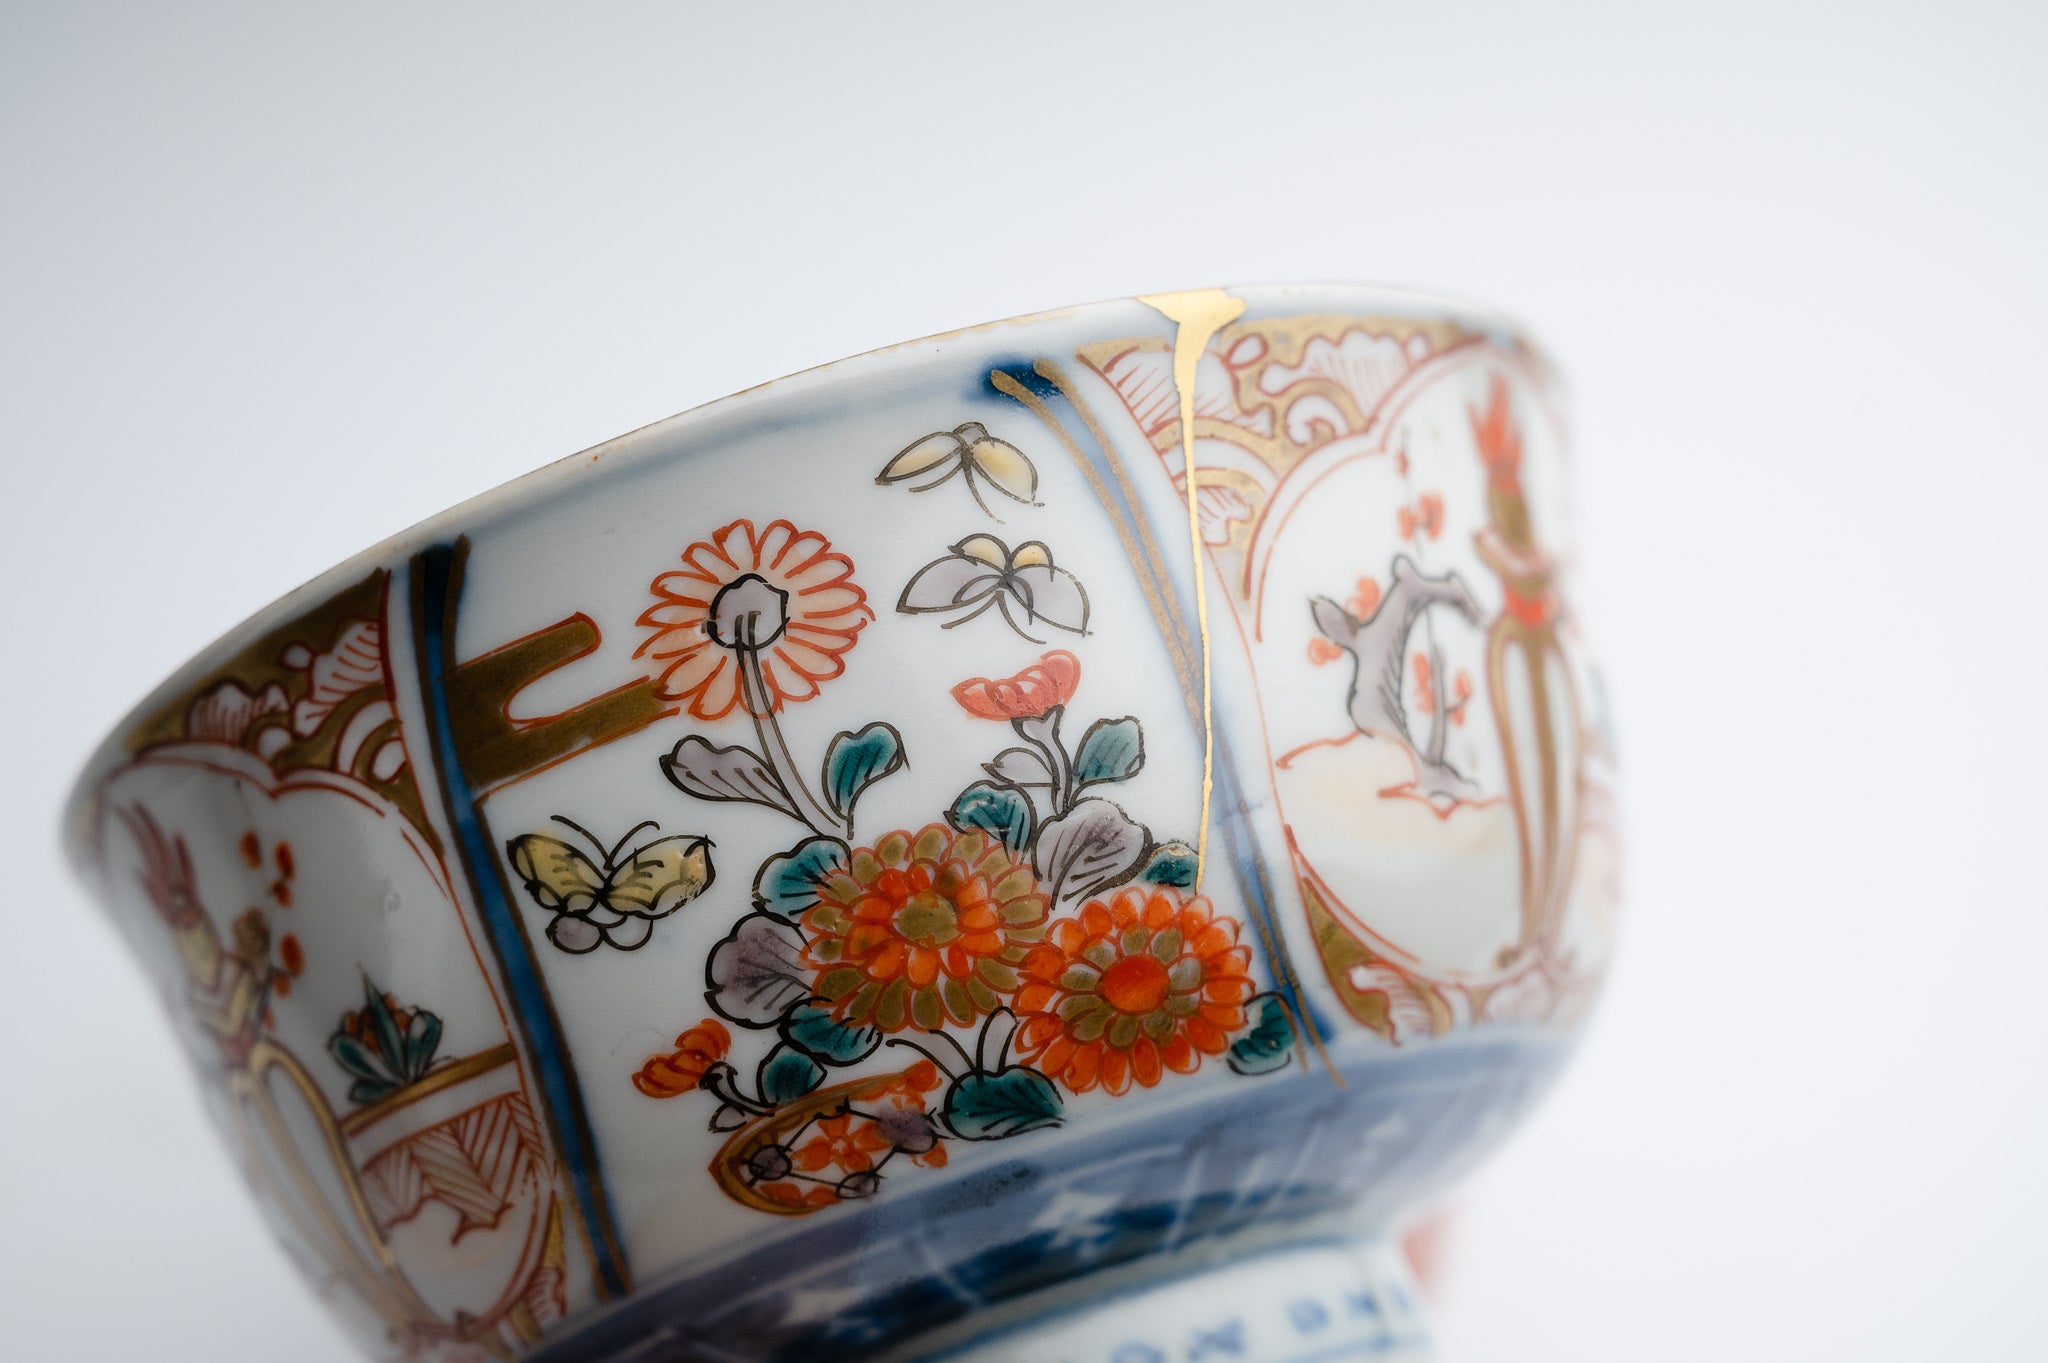
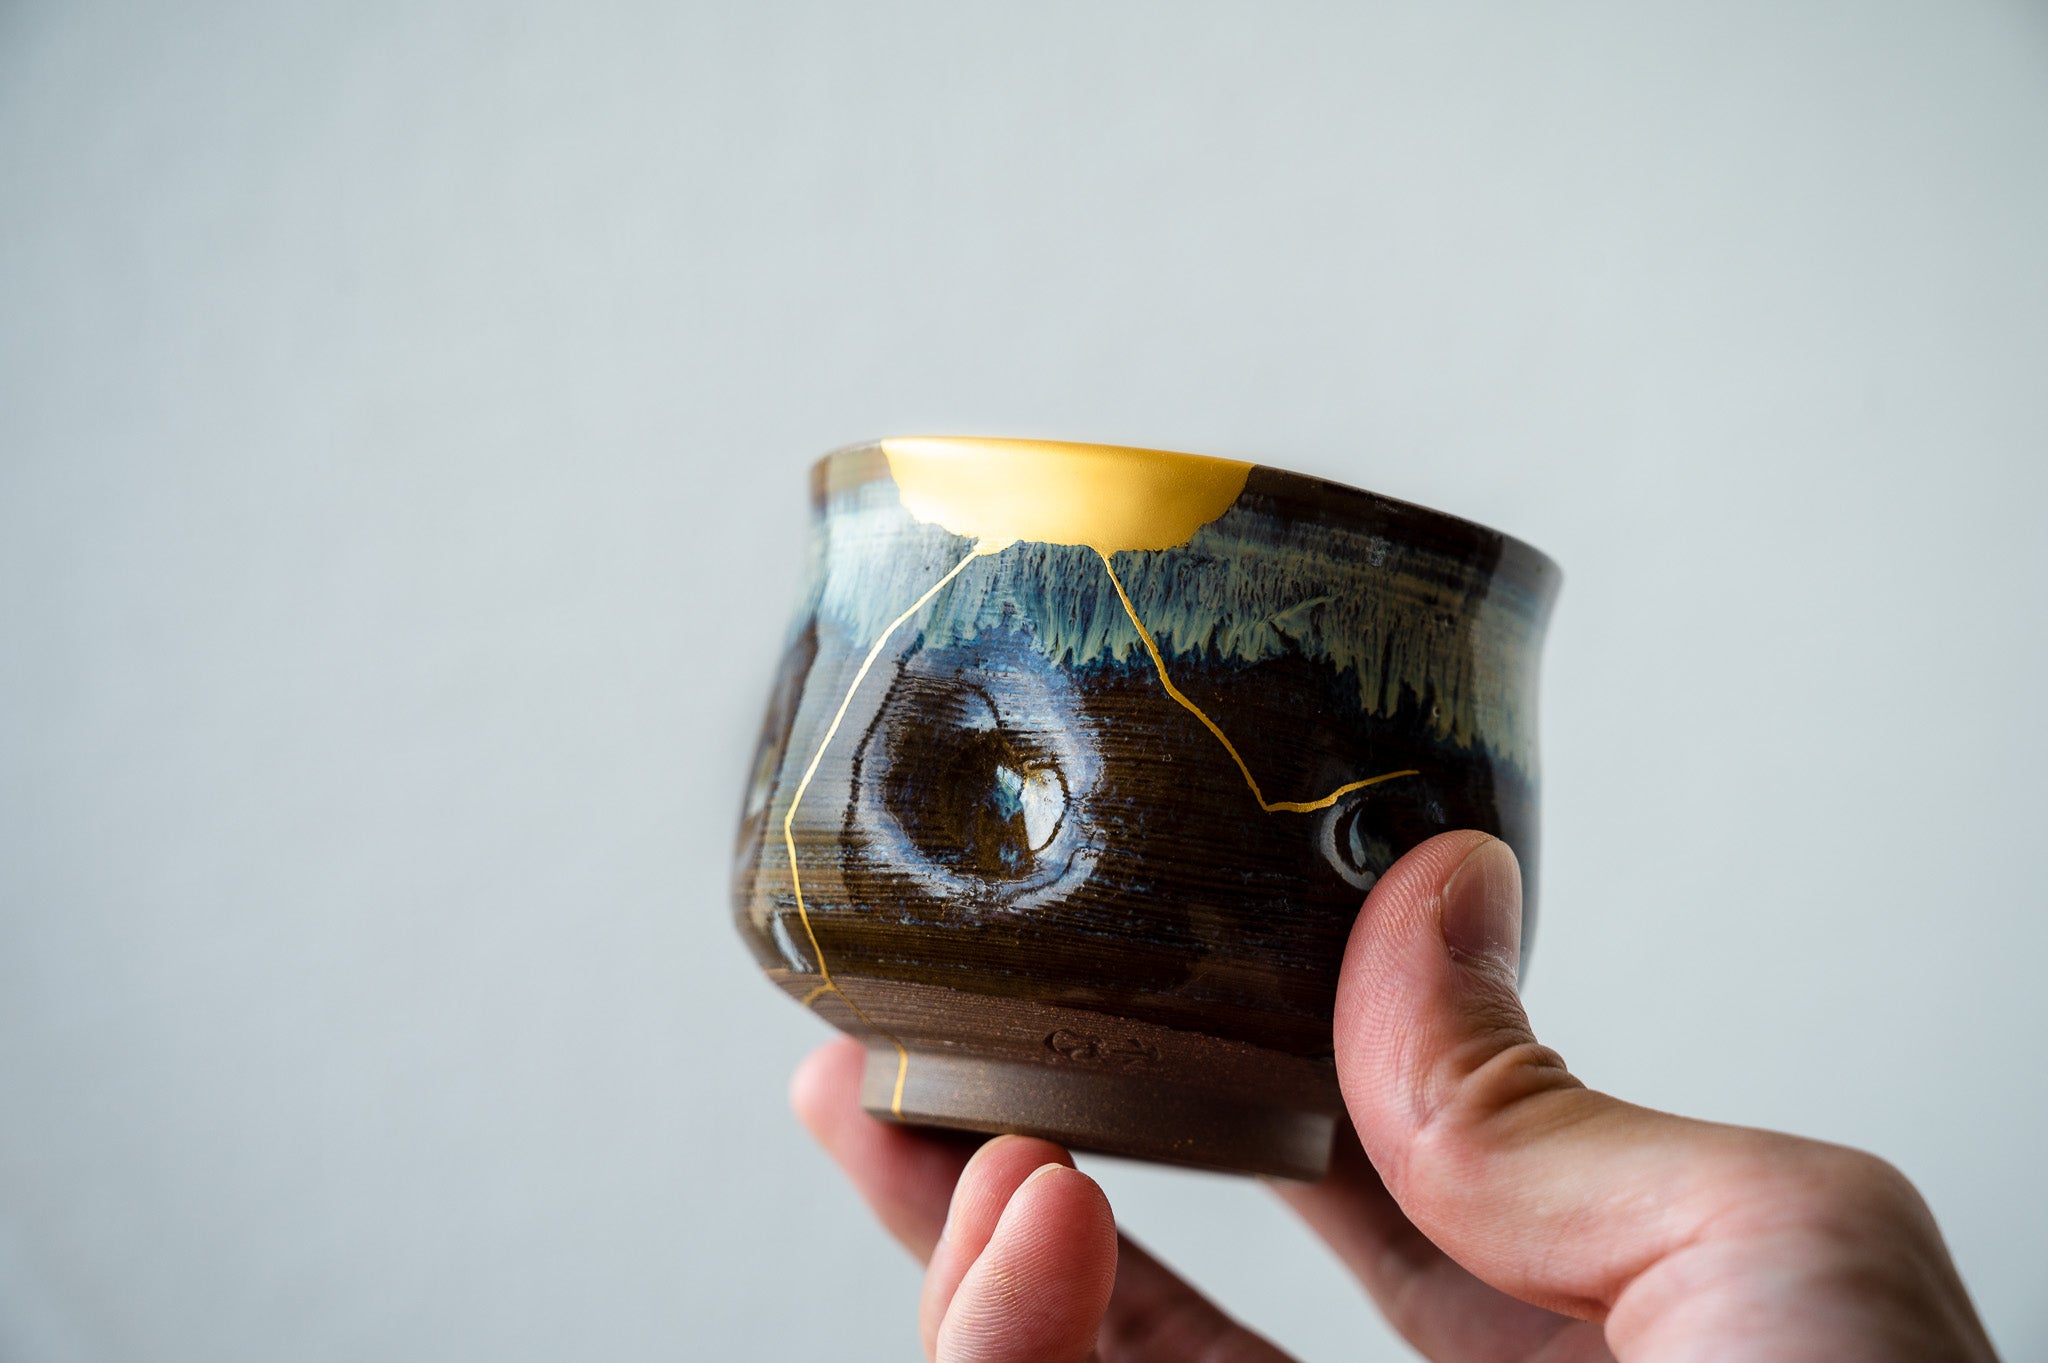
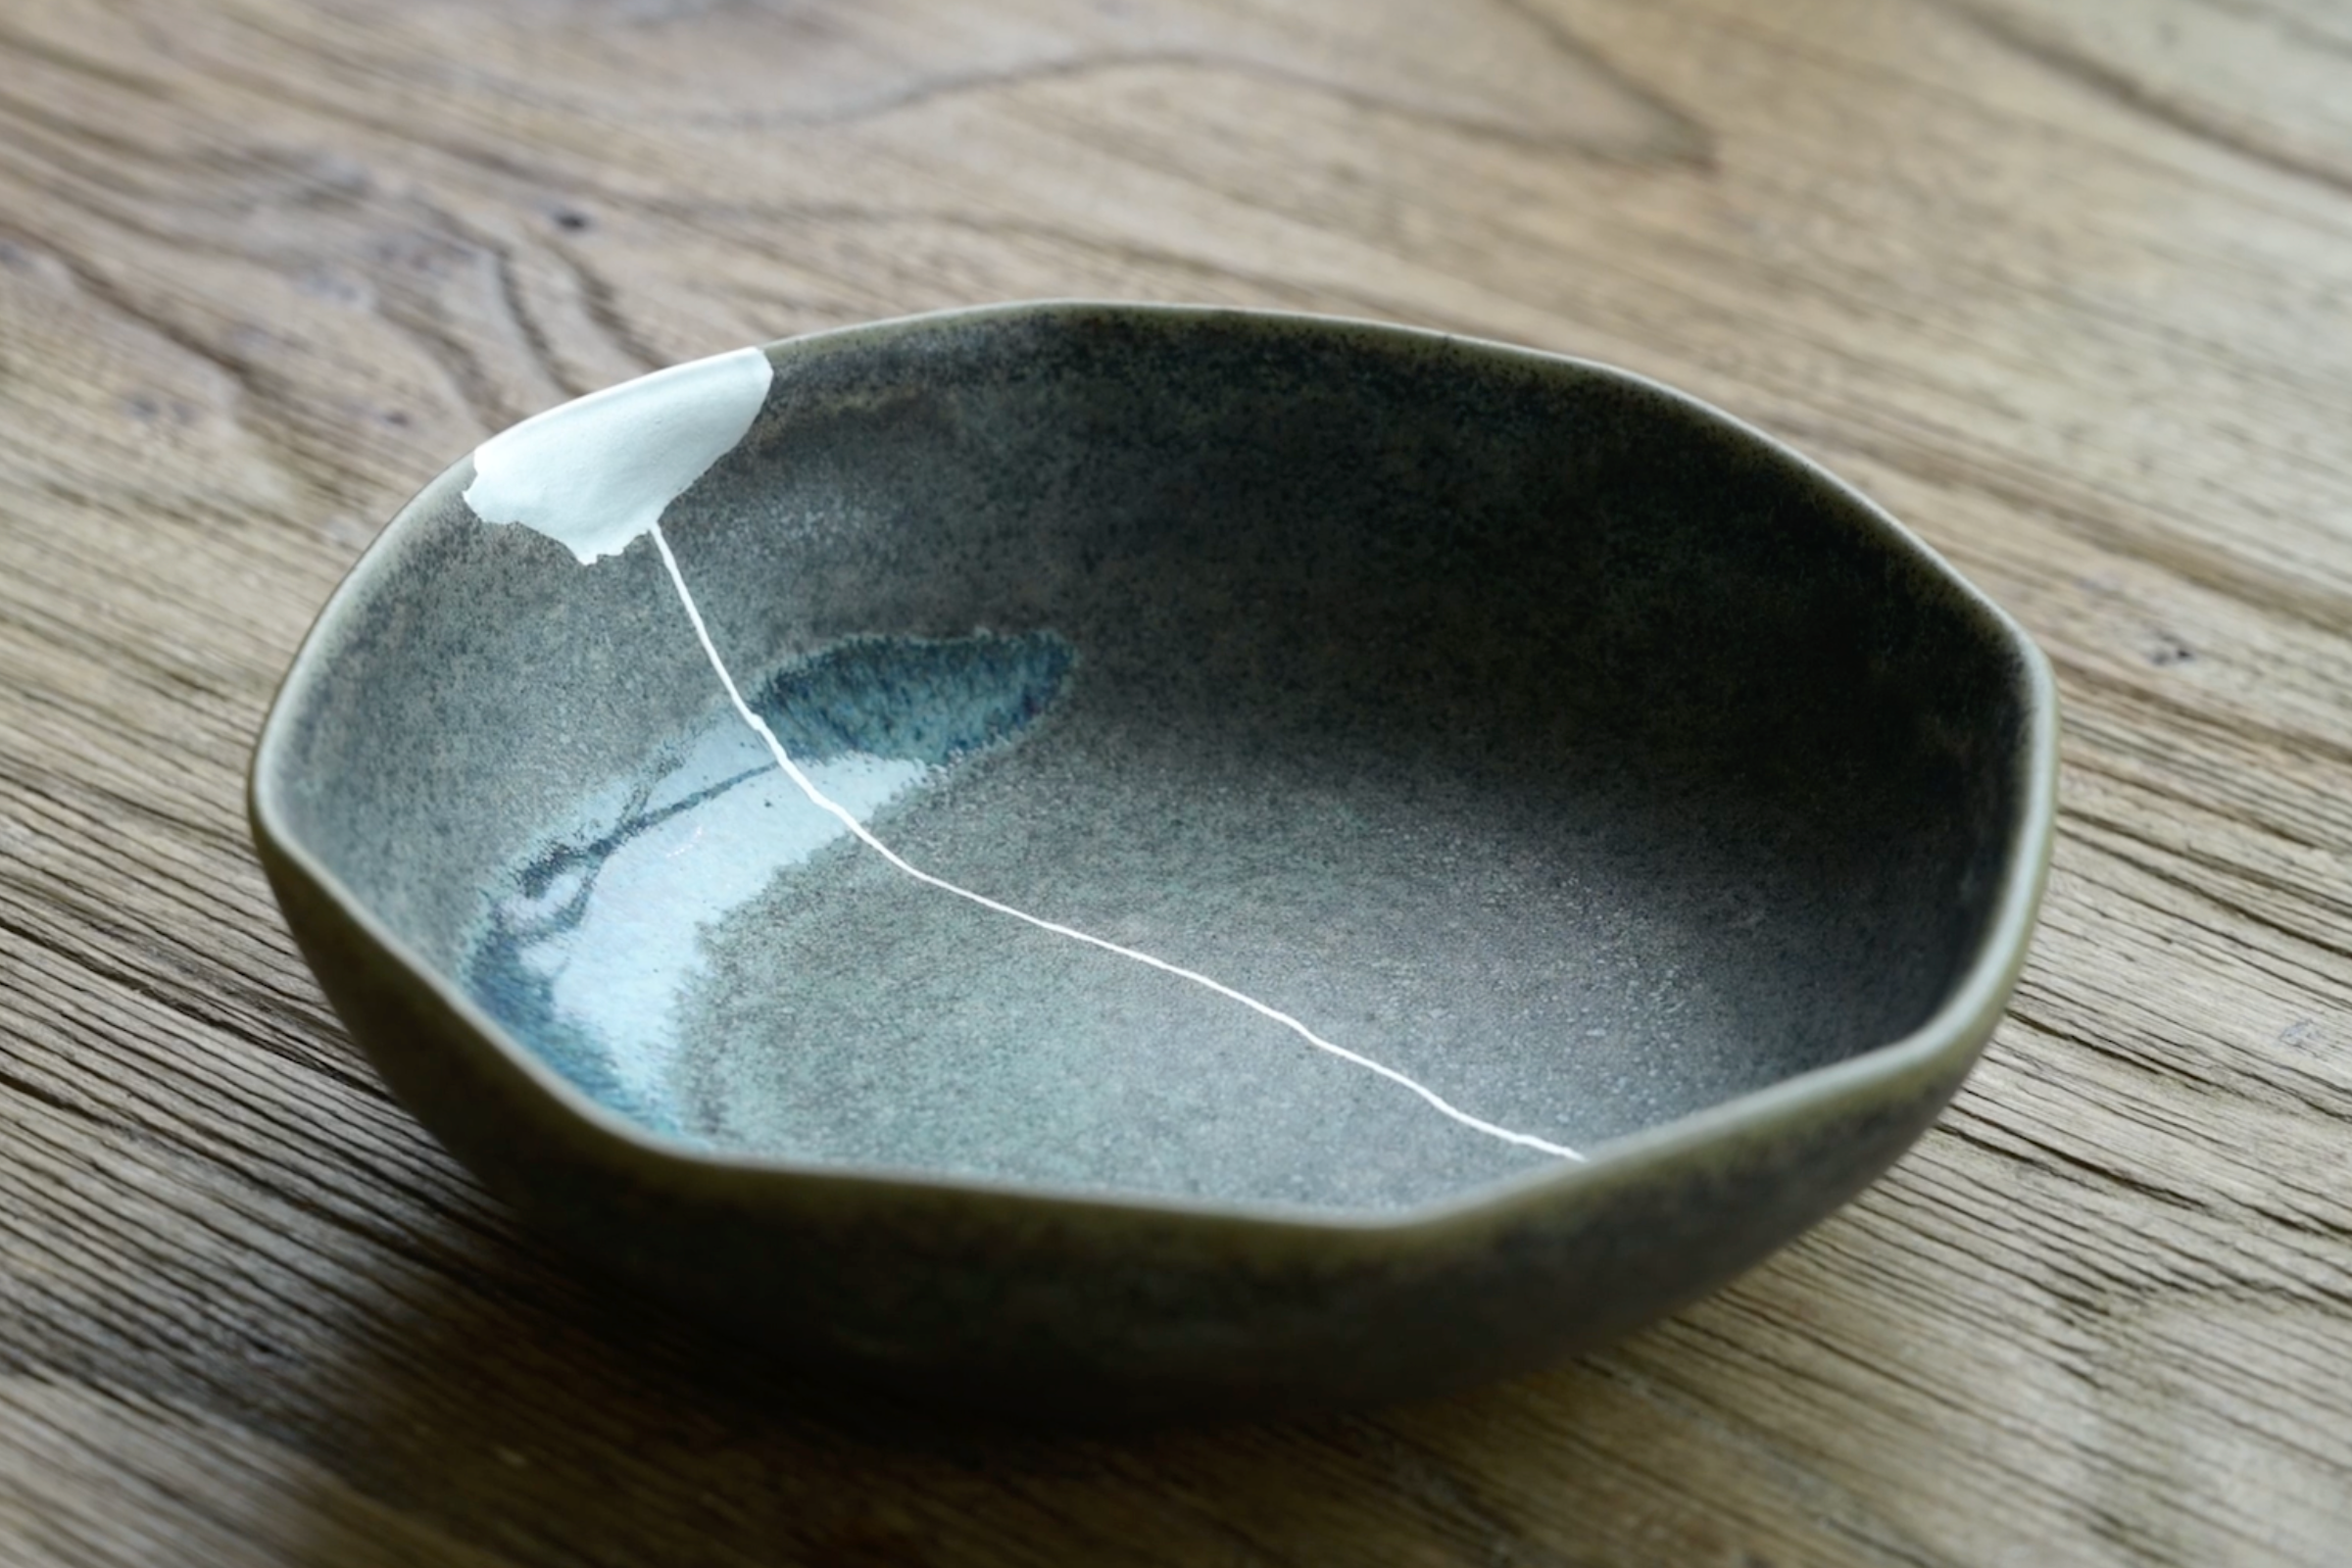
The fragments are put back together with urushi and the cracks are adorned with gold.
There are no attempts to hide the damage, instead, it is highlighted.
The pattern on the repaired ceramics is called "景色(keshiki)," which means scenery in Japanese, and we find the beauty of imperfection in the scenery.
What is "Kintsugi"?
Kintsugi is the Japanese traditional way of repairing broken ceramics.
The fragments are put back together with urushi and the cracks are adorned with gold.
There are no attempts to hide the damage, instead, it is highlighted.
The pattern on the repaired ceramics is called "景色(keshiki)," which means scenery in Japanese, and we find the beauty of imperfection in the scenery.
Method
In the traditional method using urushi, the work is not completed in one day. This is because it takes several days for the urushi to harden. For example, a broken pottery can take up to a month to complete. The repair procedure is outlined below.
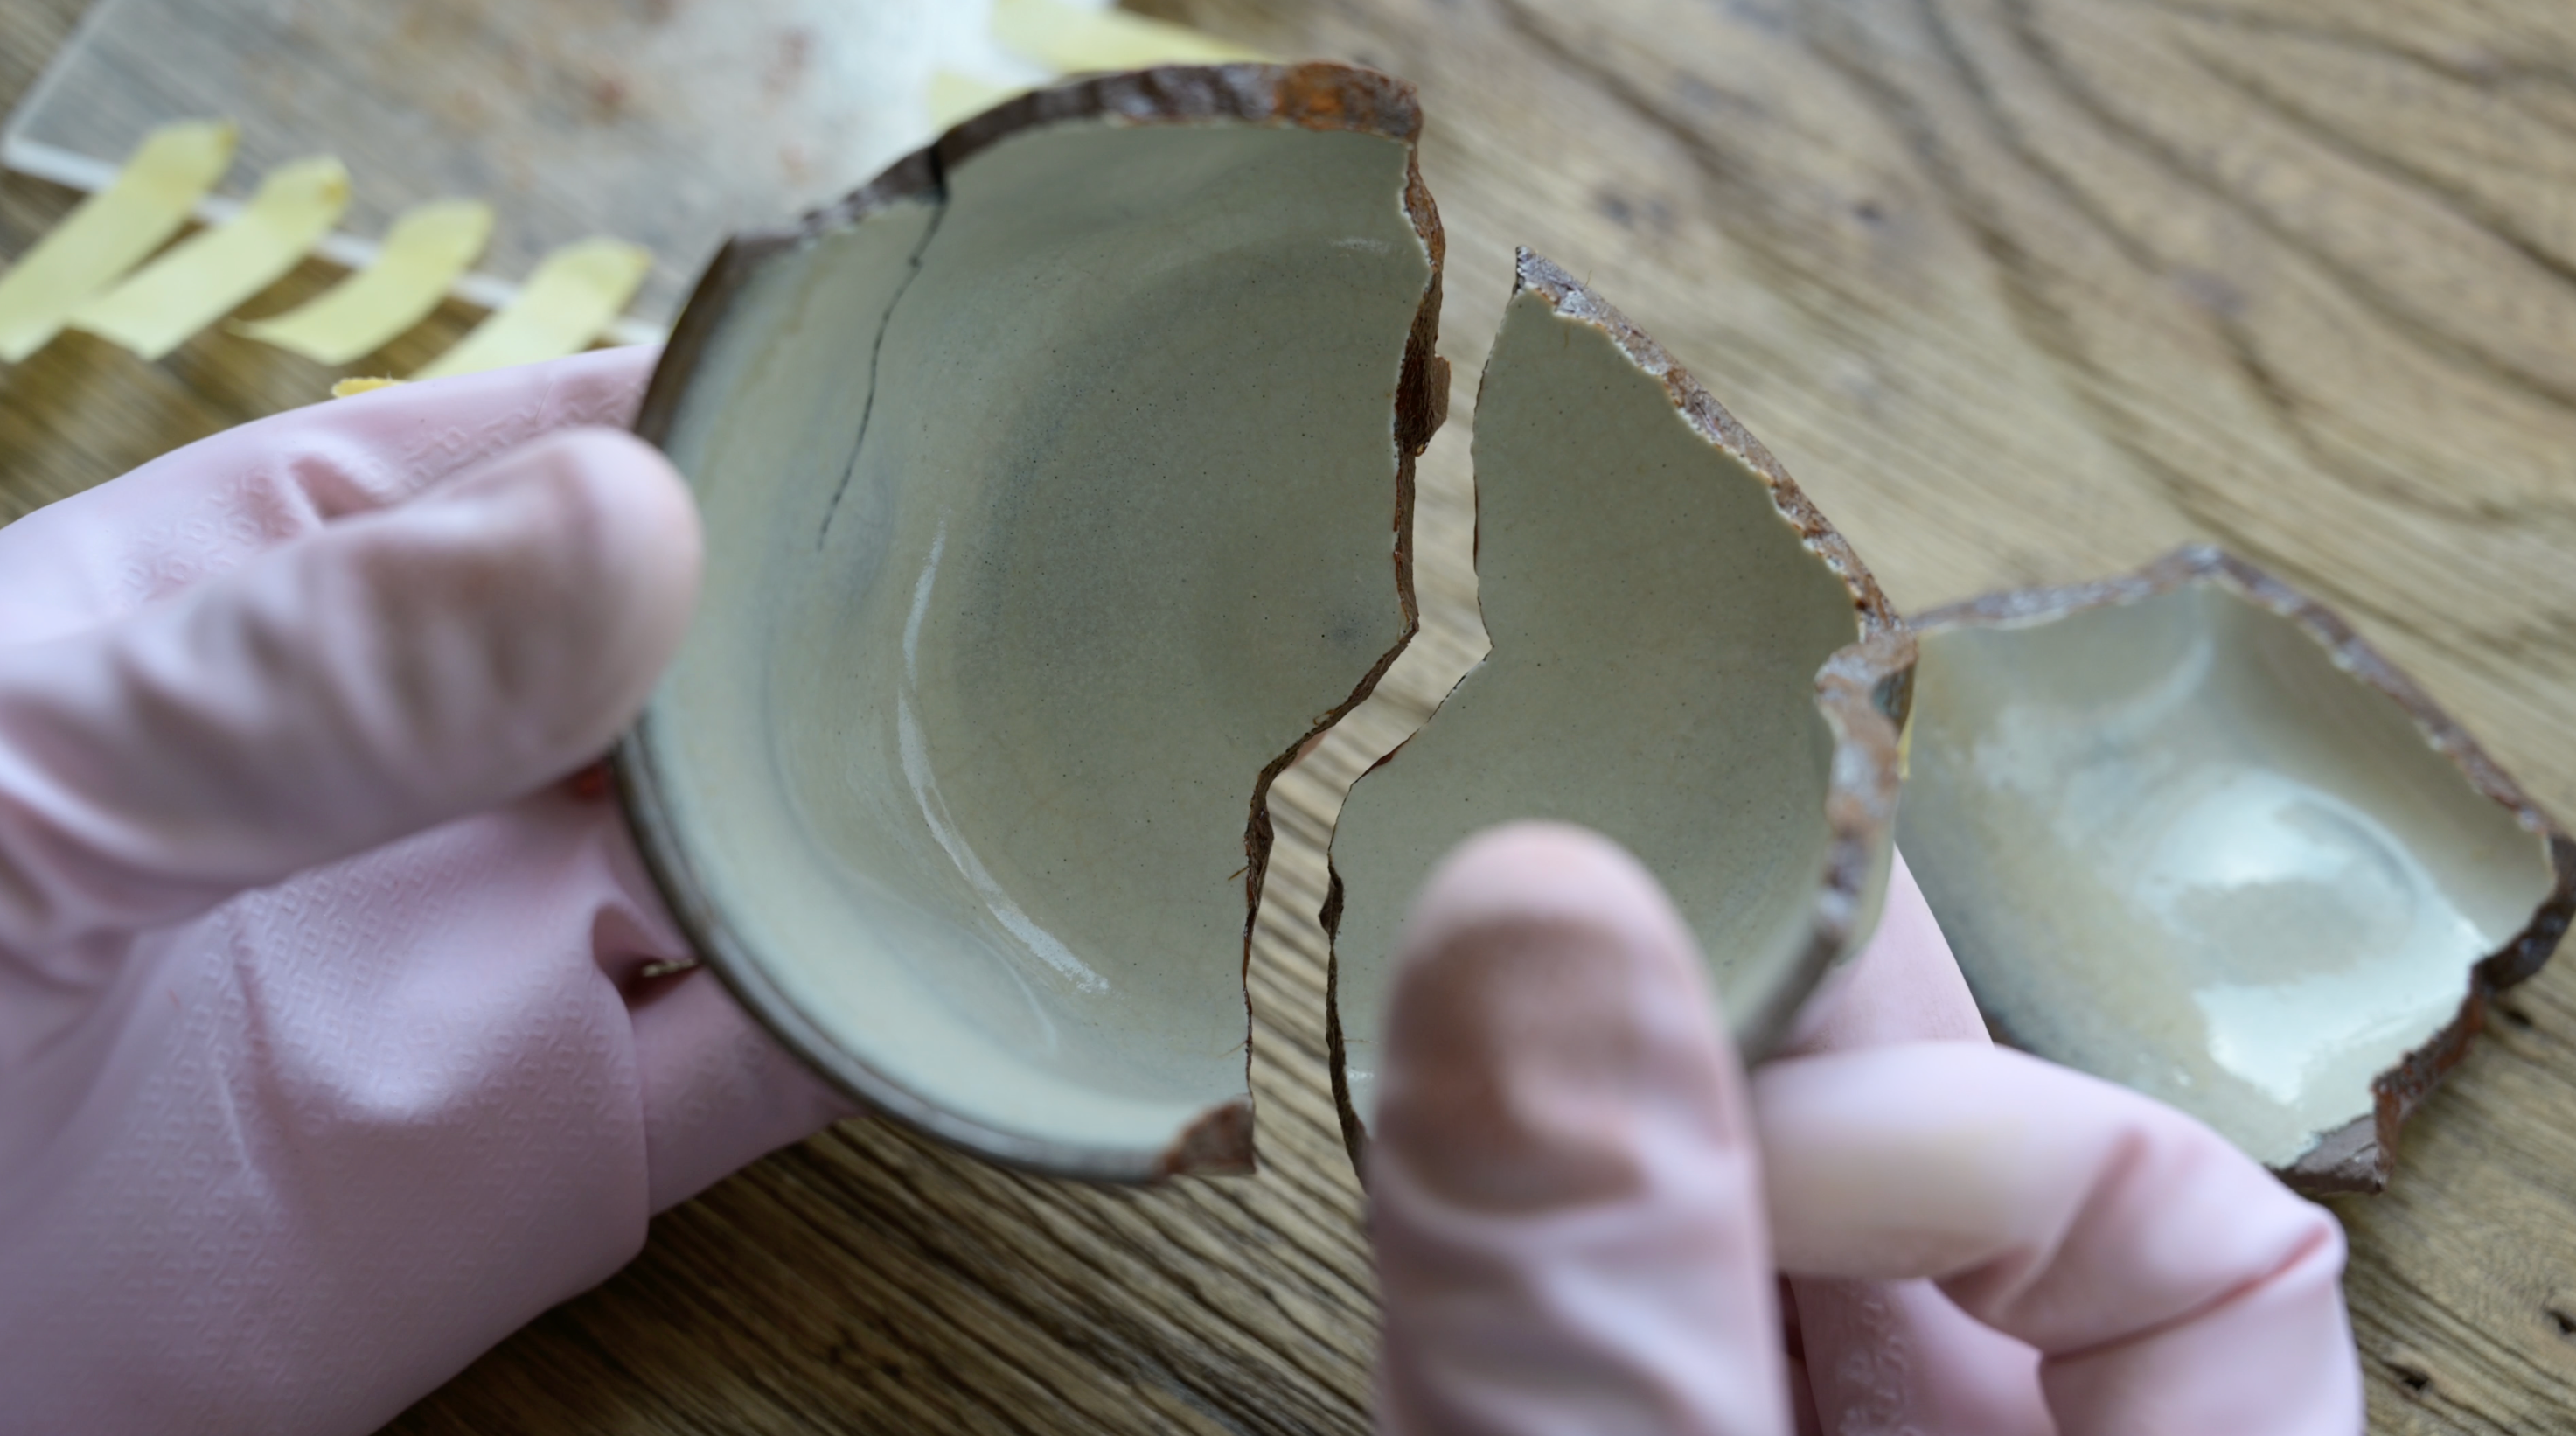
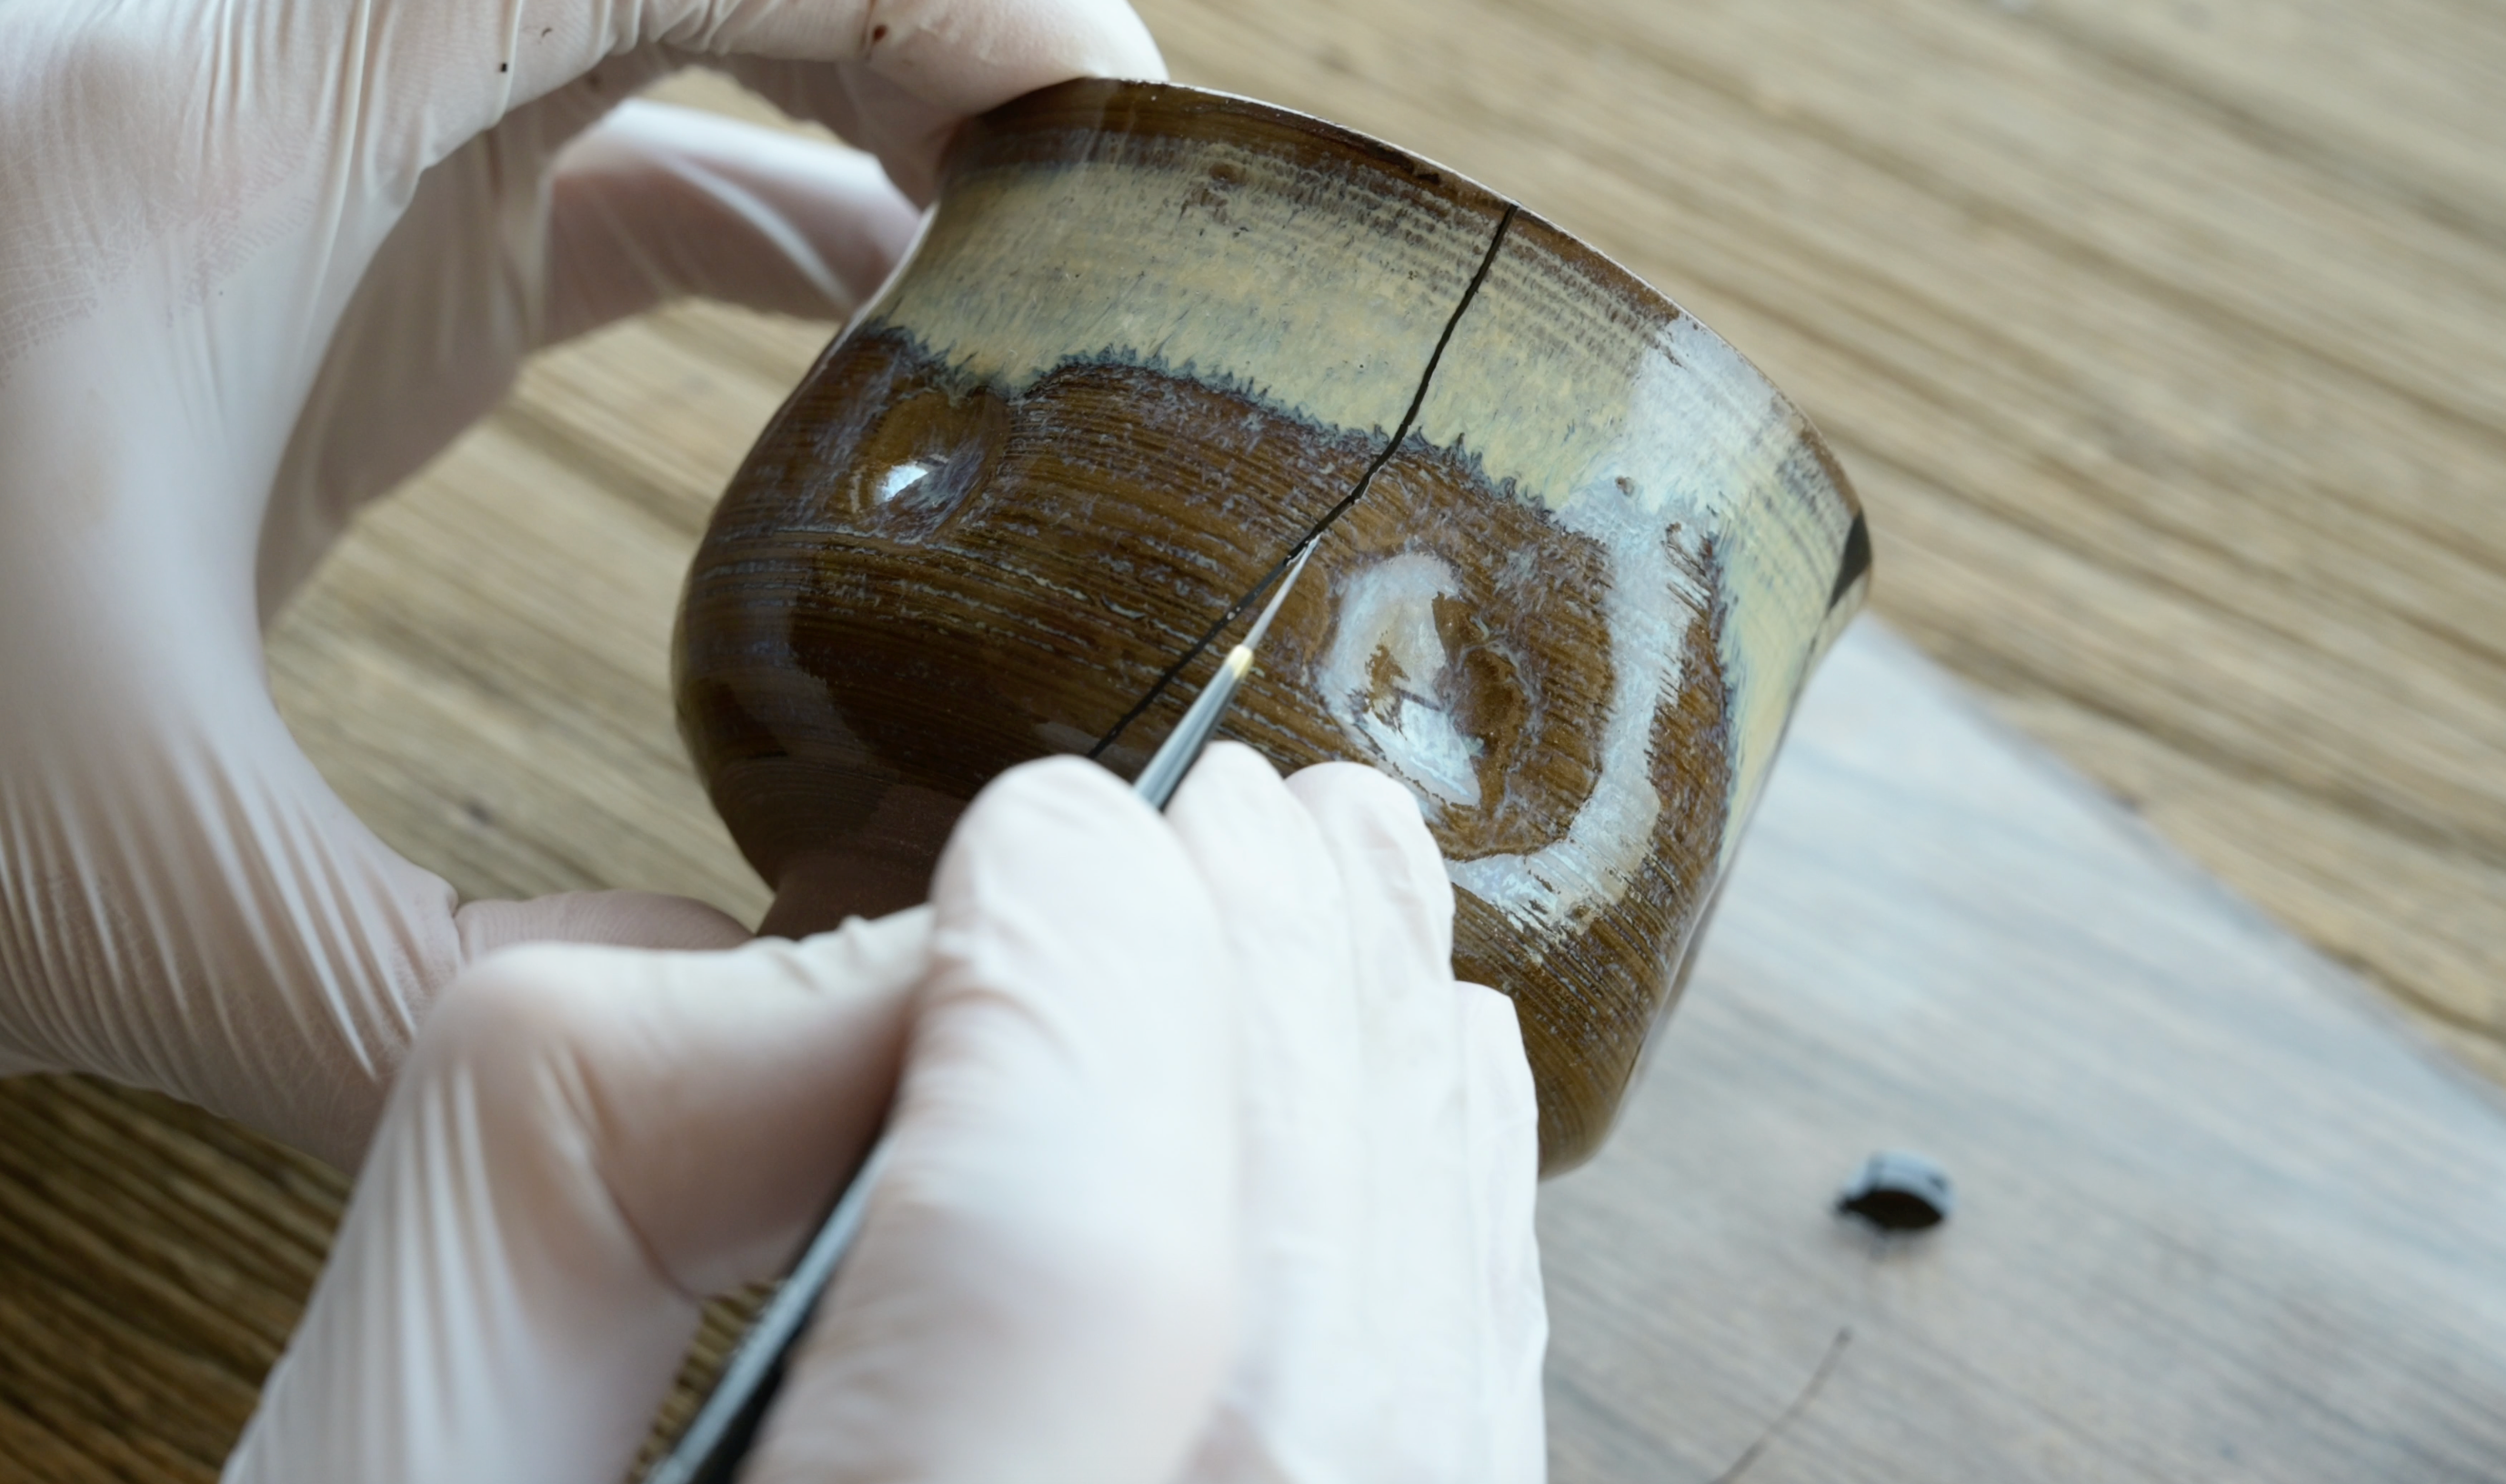
The first step is to glue pieces together using a paste called "mugi urushi," which is made by kneading raw urushi, flour, and water.
Wait about a week for it to harden.
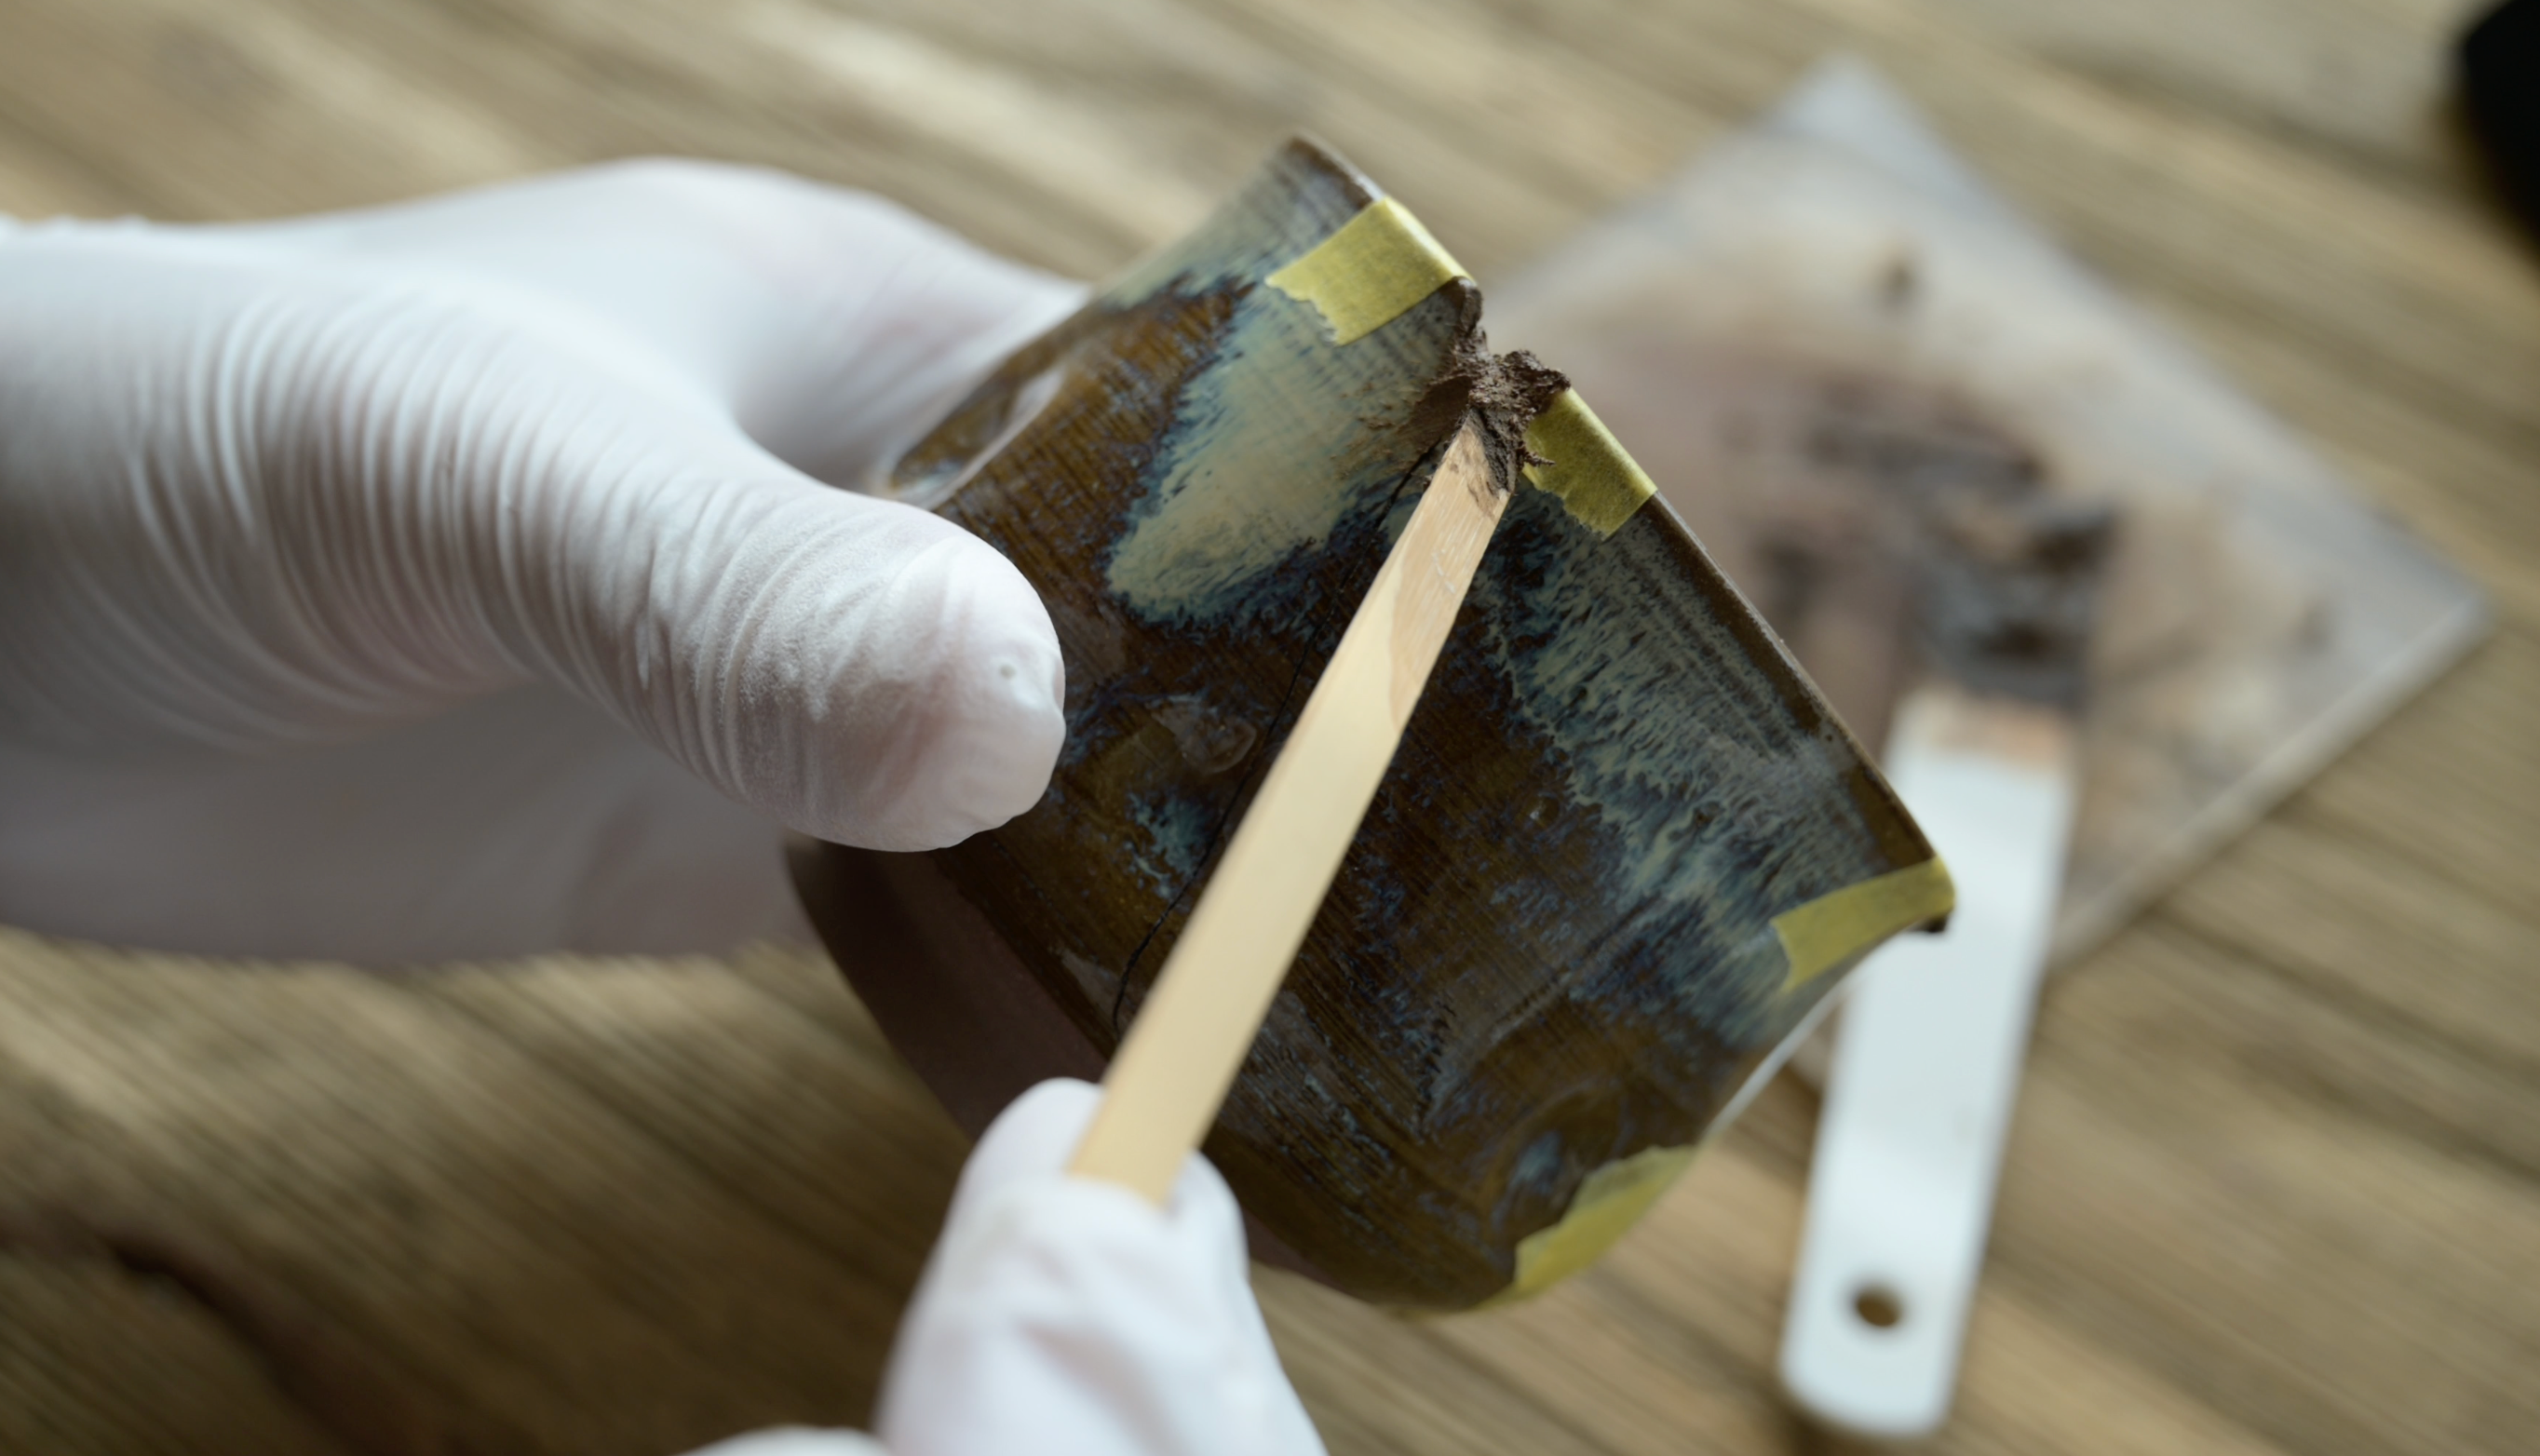
Once the mugi urushi has hardened, the next step is to fill the grooves with sabi urushi, a paste of raw urushi, tonoko, and water.
Wait for about three days for the sabi urushi to harden.
When the sabi urushi hardens, scrape off the excess and apply black urushi over it. bengara urushi is also acceptable.
Wait for about 3 days for it to harden.
After the urushi has hardened, file off any excess on the surface.
Then apply black or bengara urushi over the top again. This will make the seam flatter.
After applying the urushi, wait another 3 days for the urushi to harden.
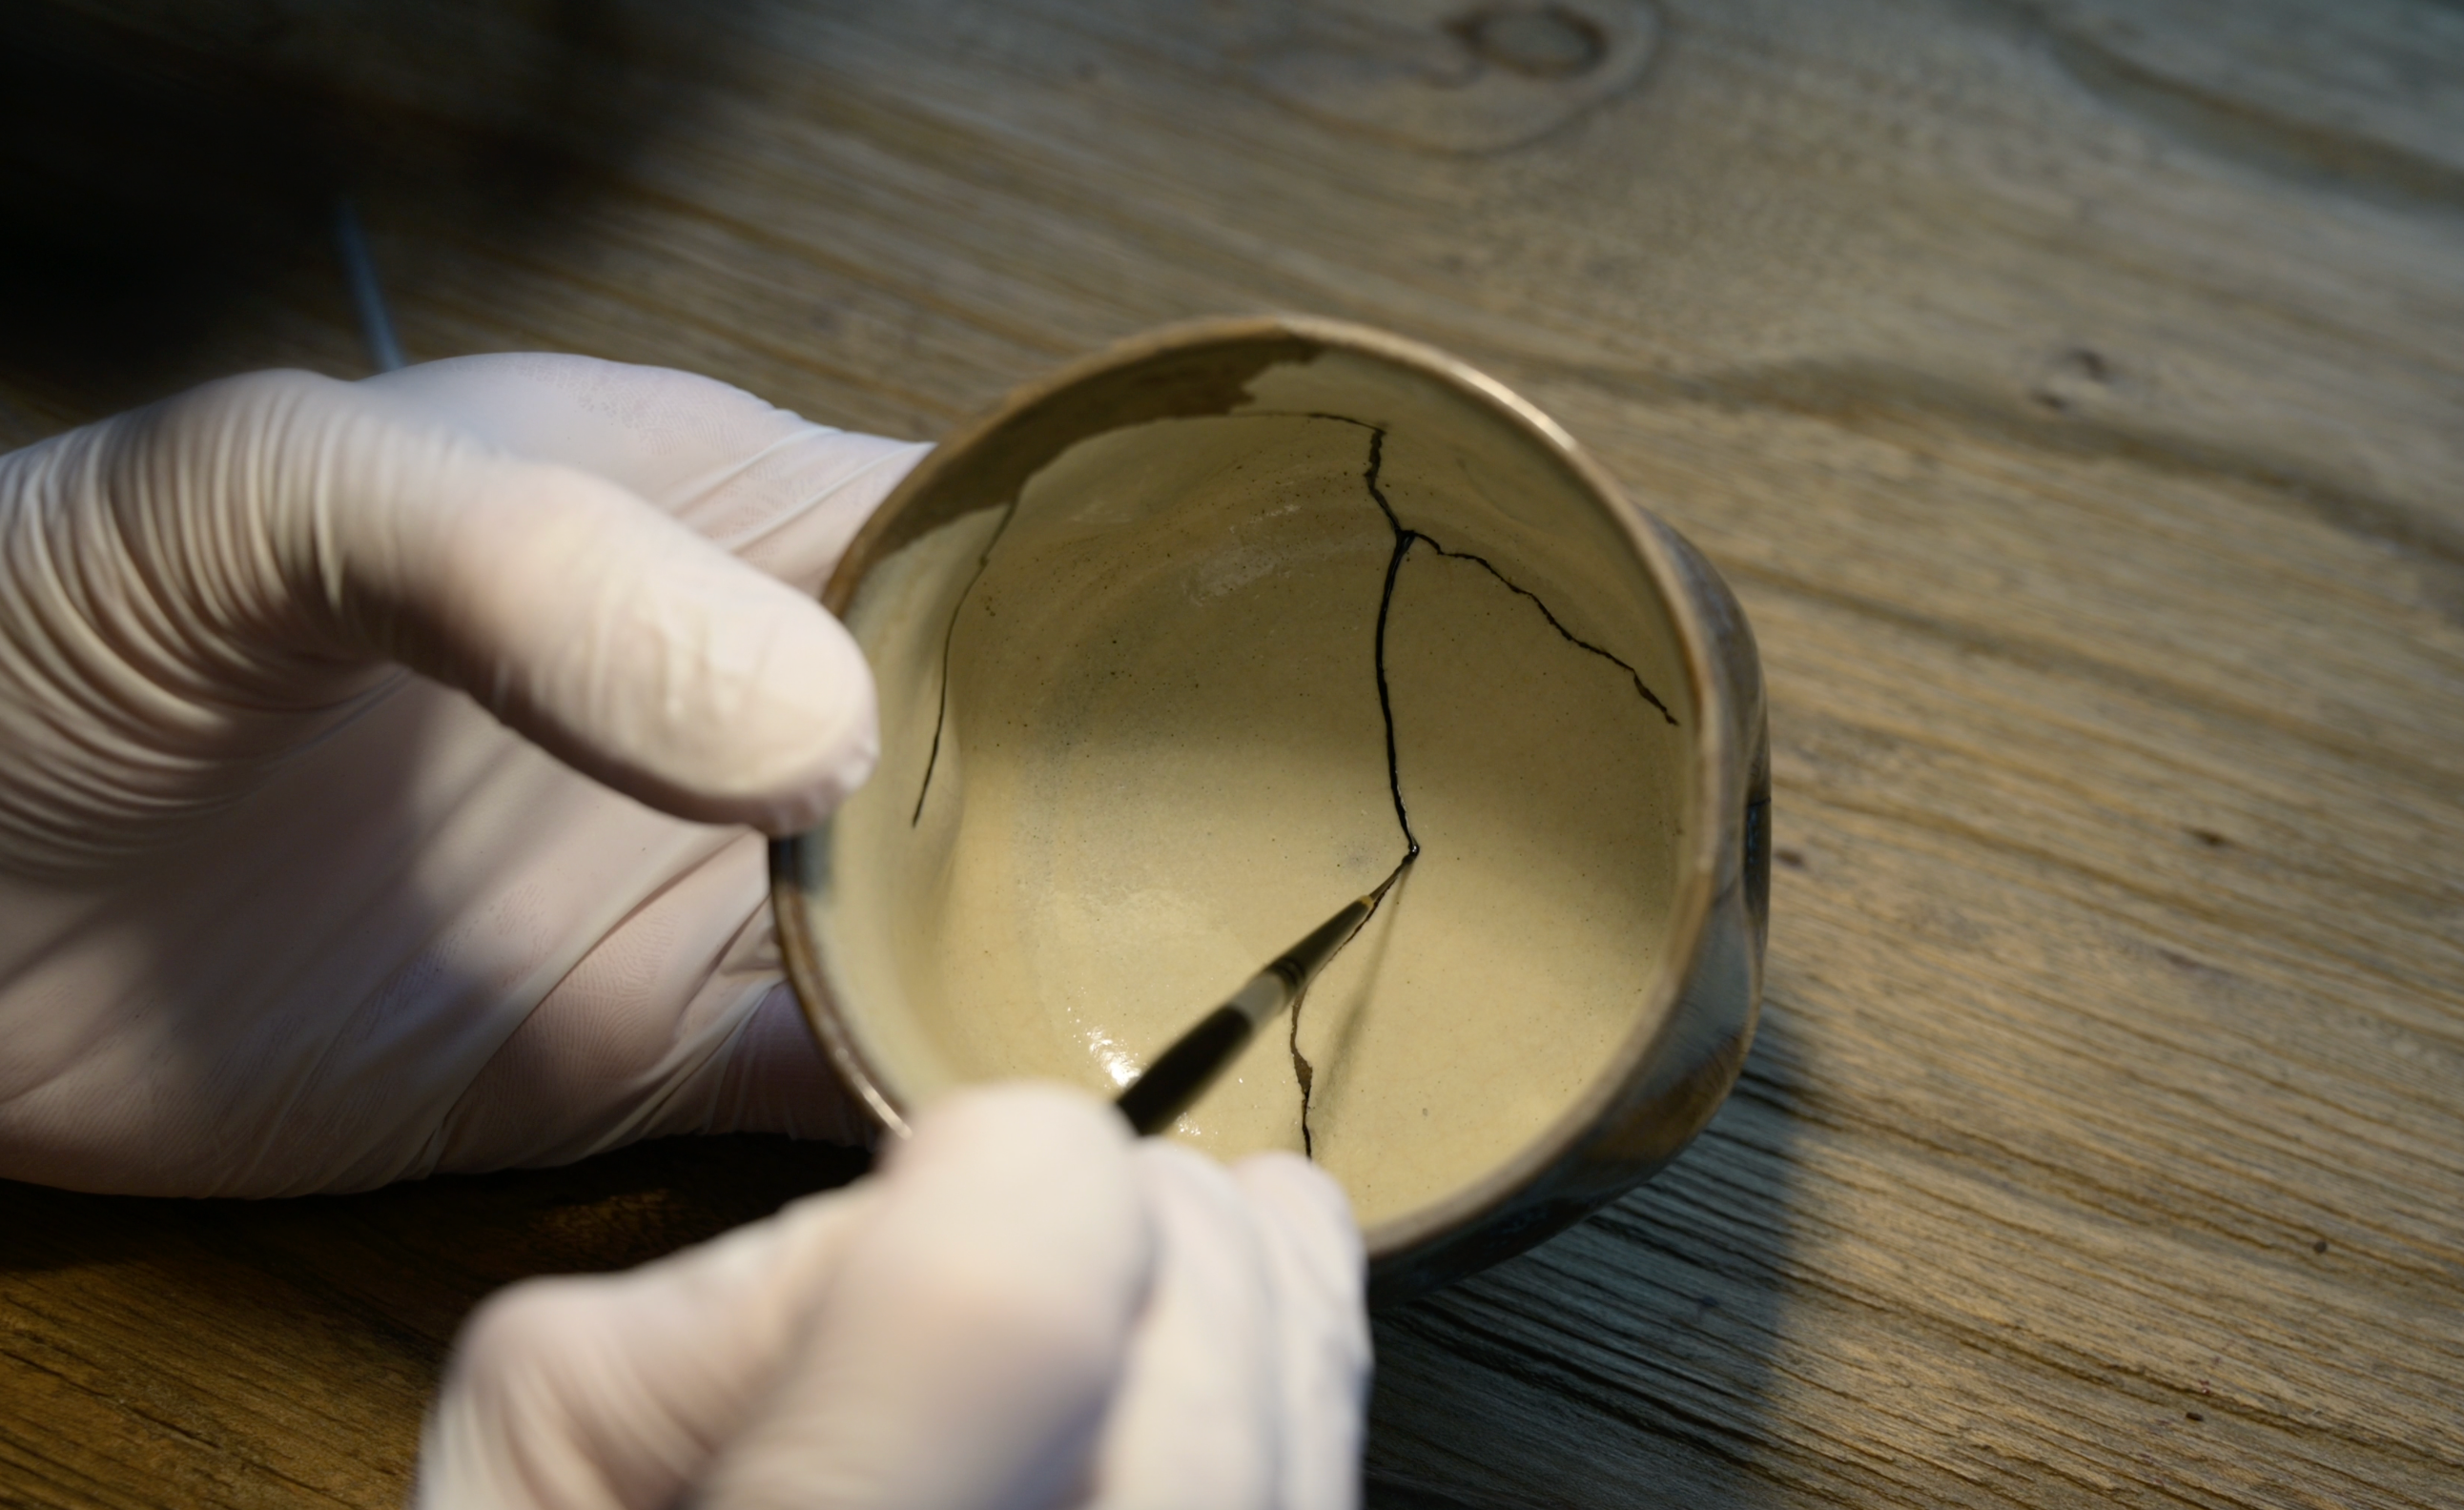
Once the surface is polished as before and the seams are smooth, a thin coat of bengara urushi is applied over the surface.
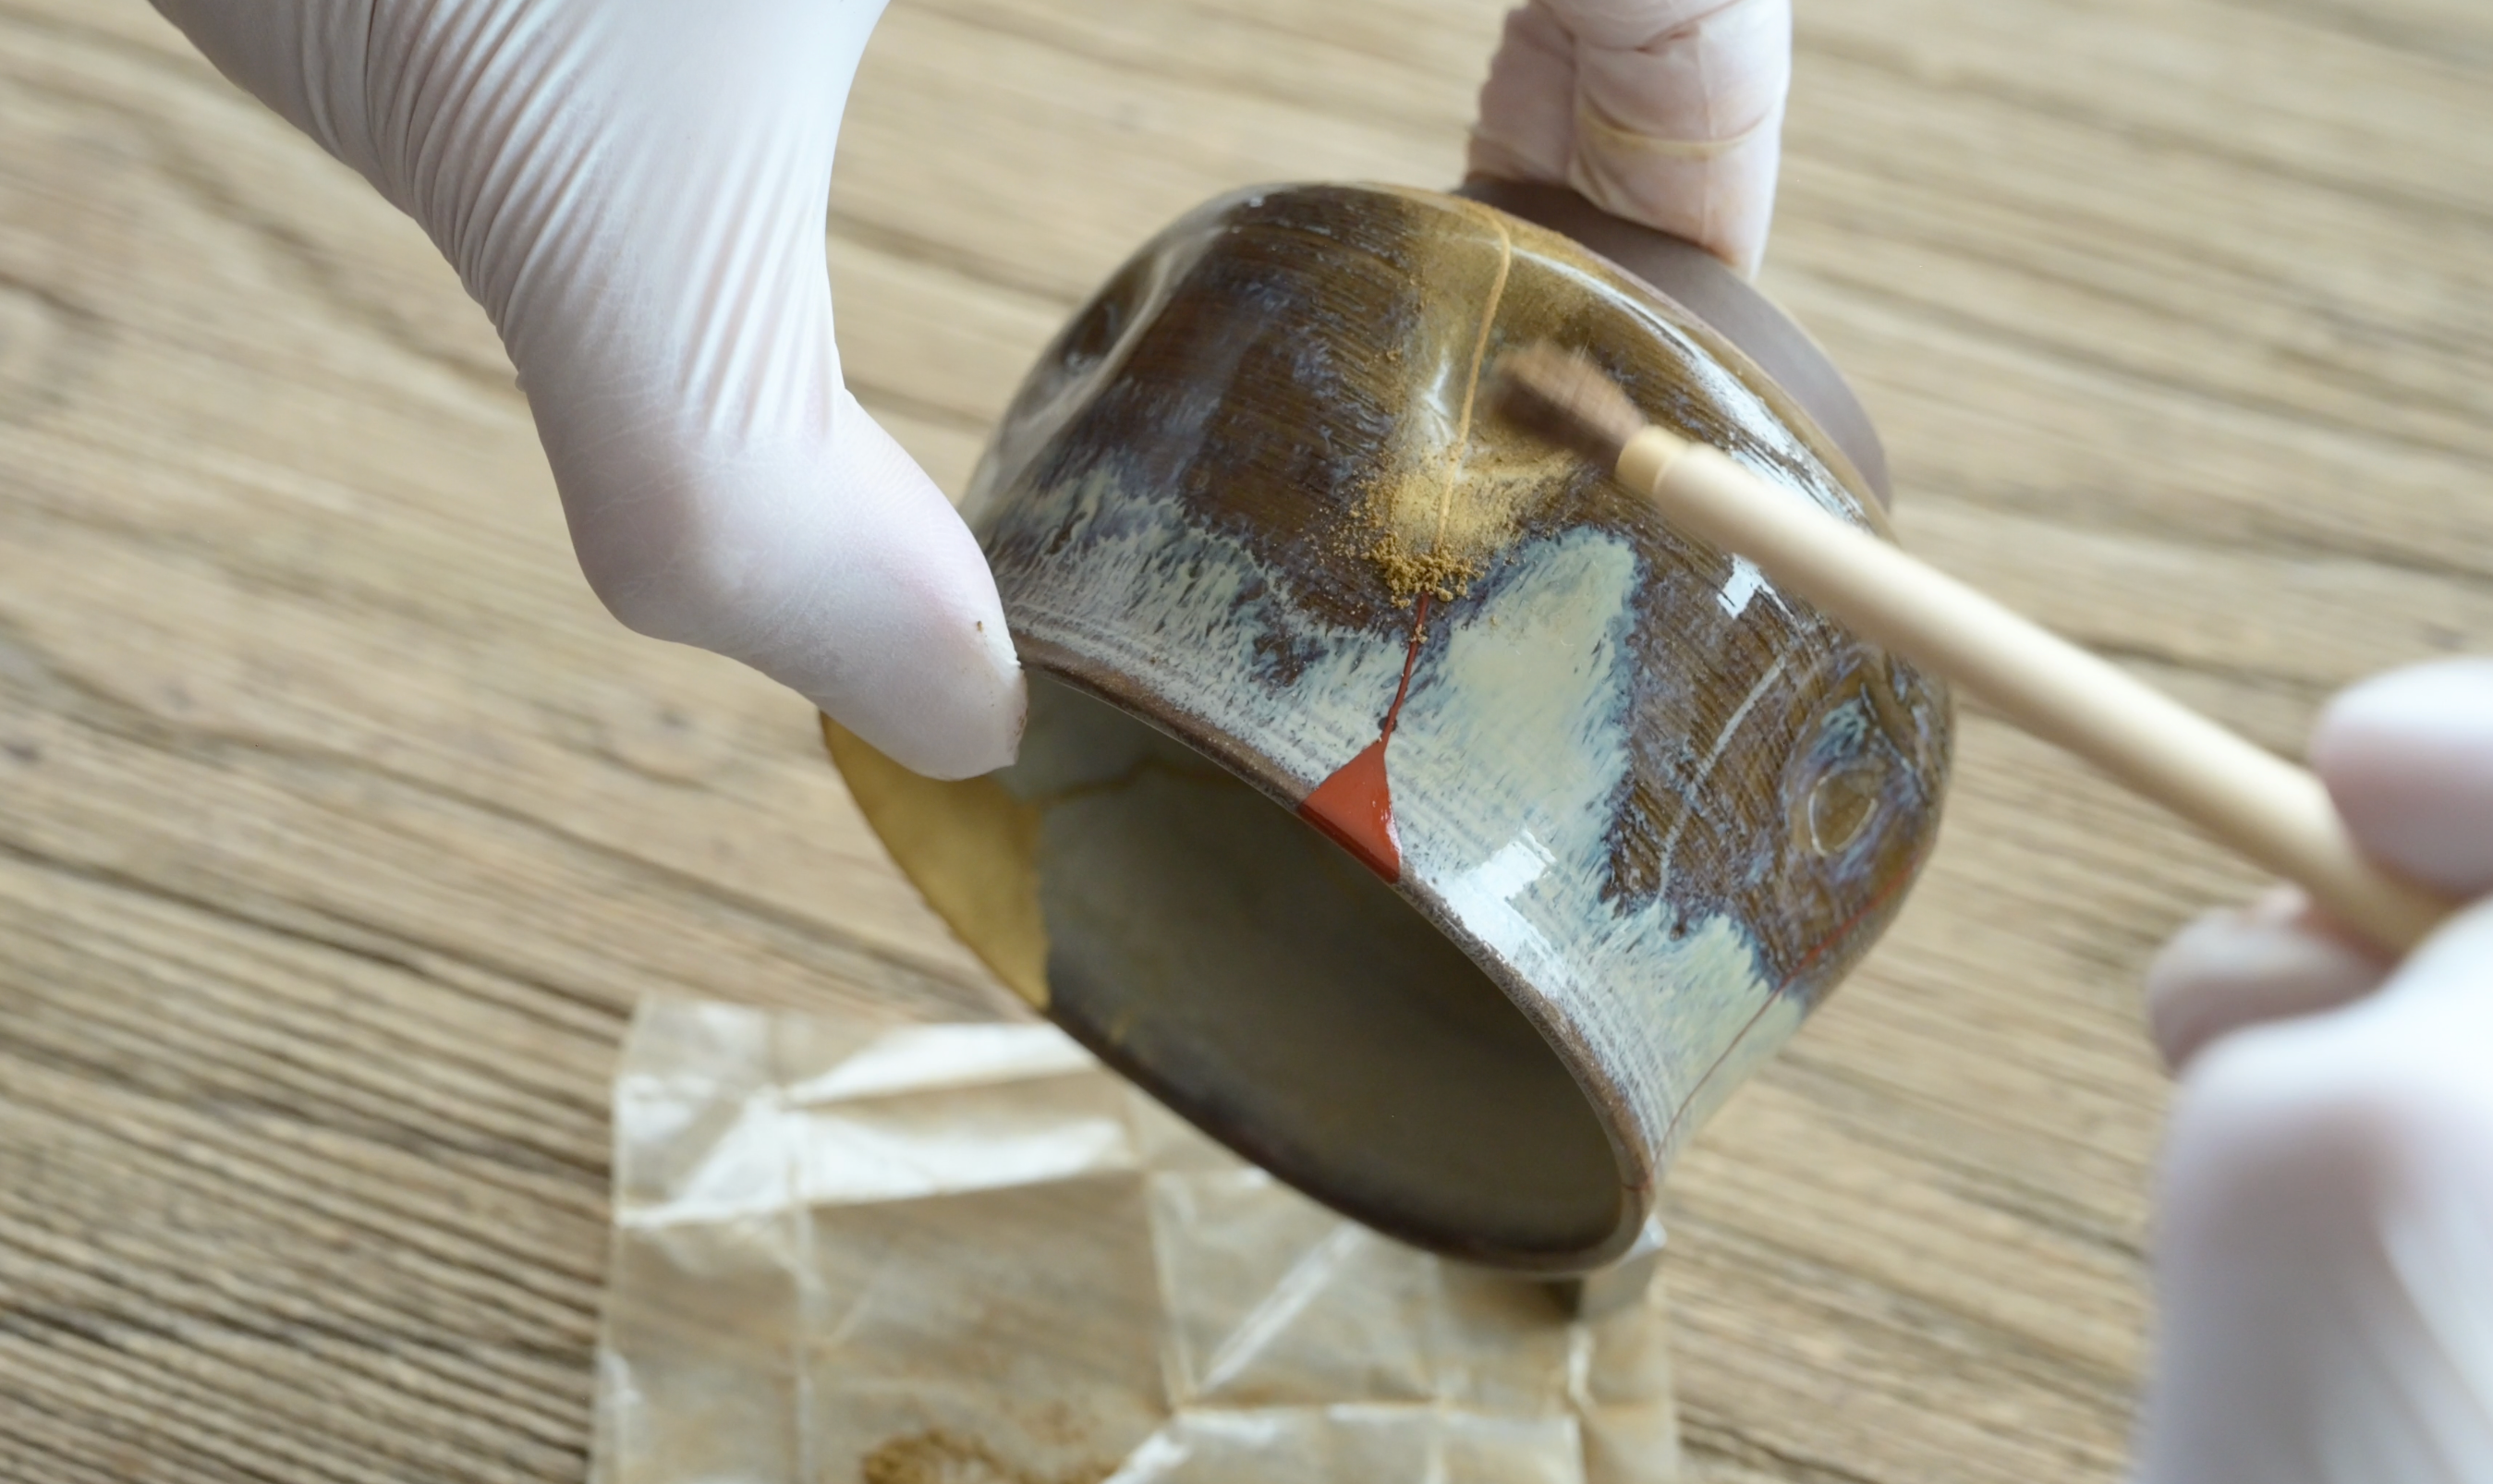
Then, before the bengara urushi dries, gold powder is applied on top of it.
Wait about a week for the bengara urushi to harden.
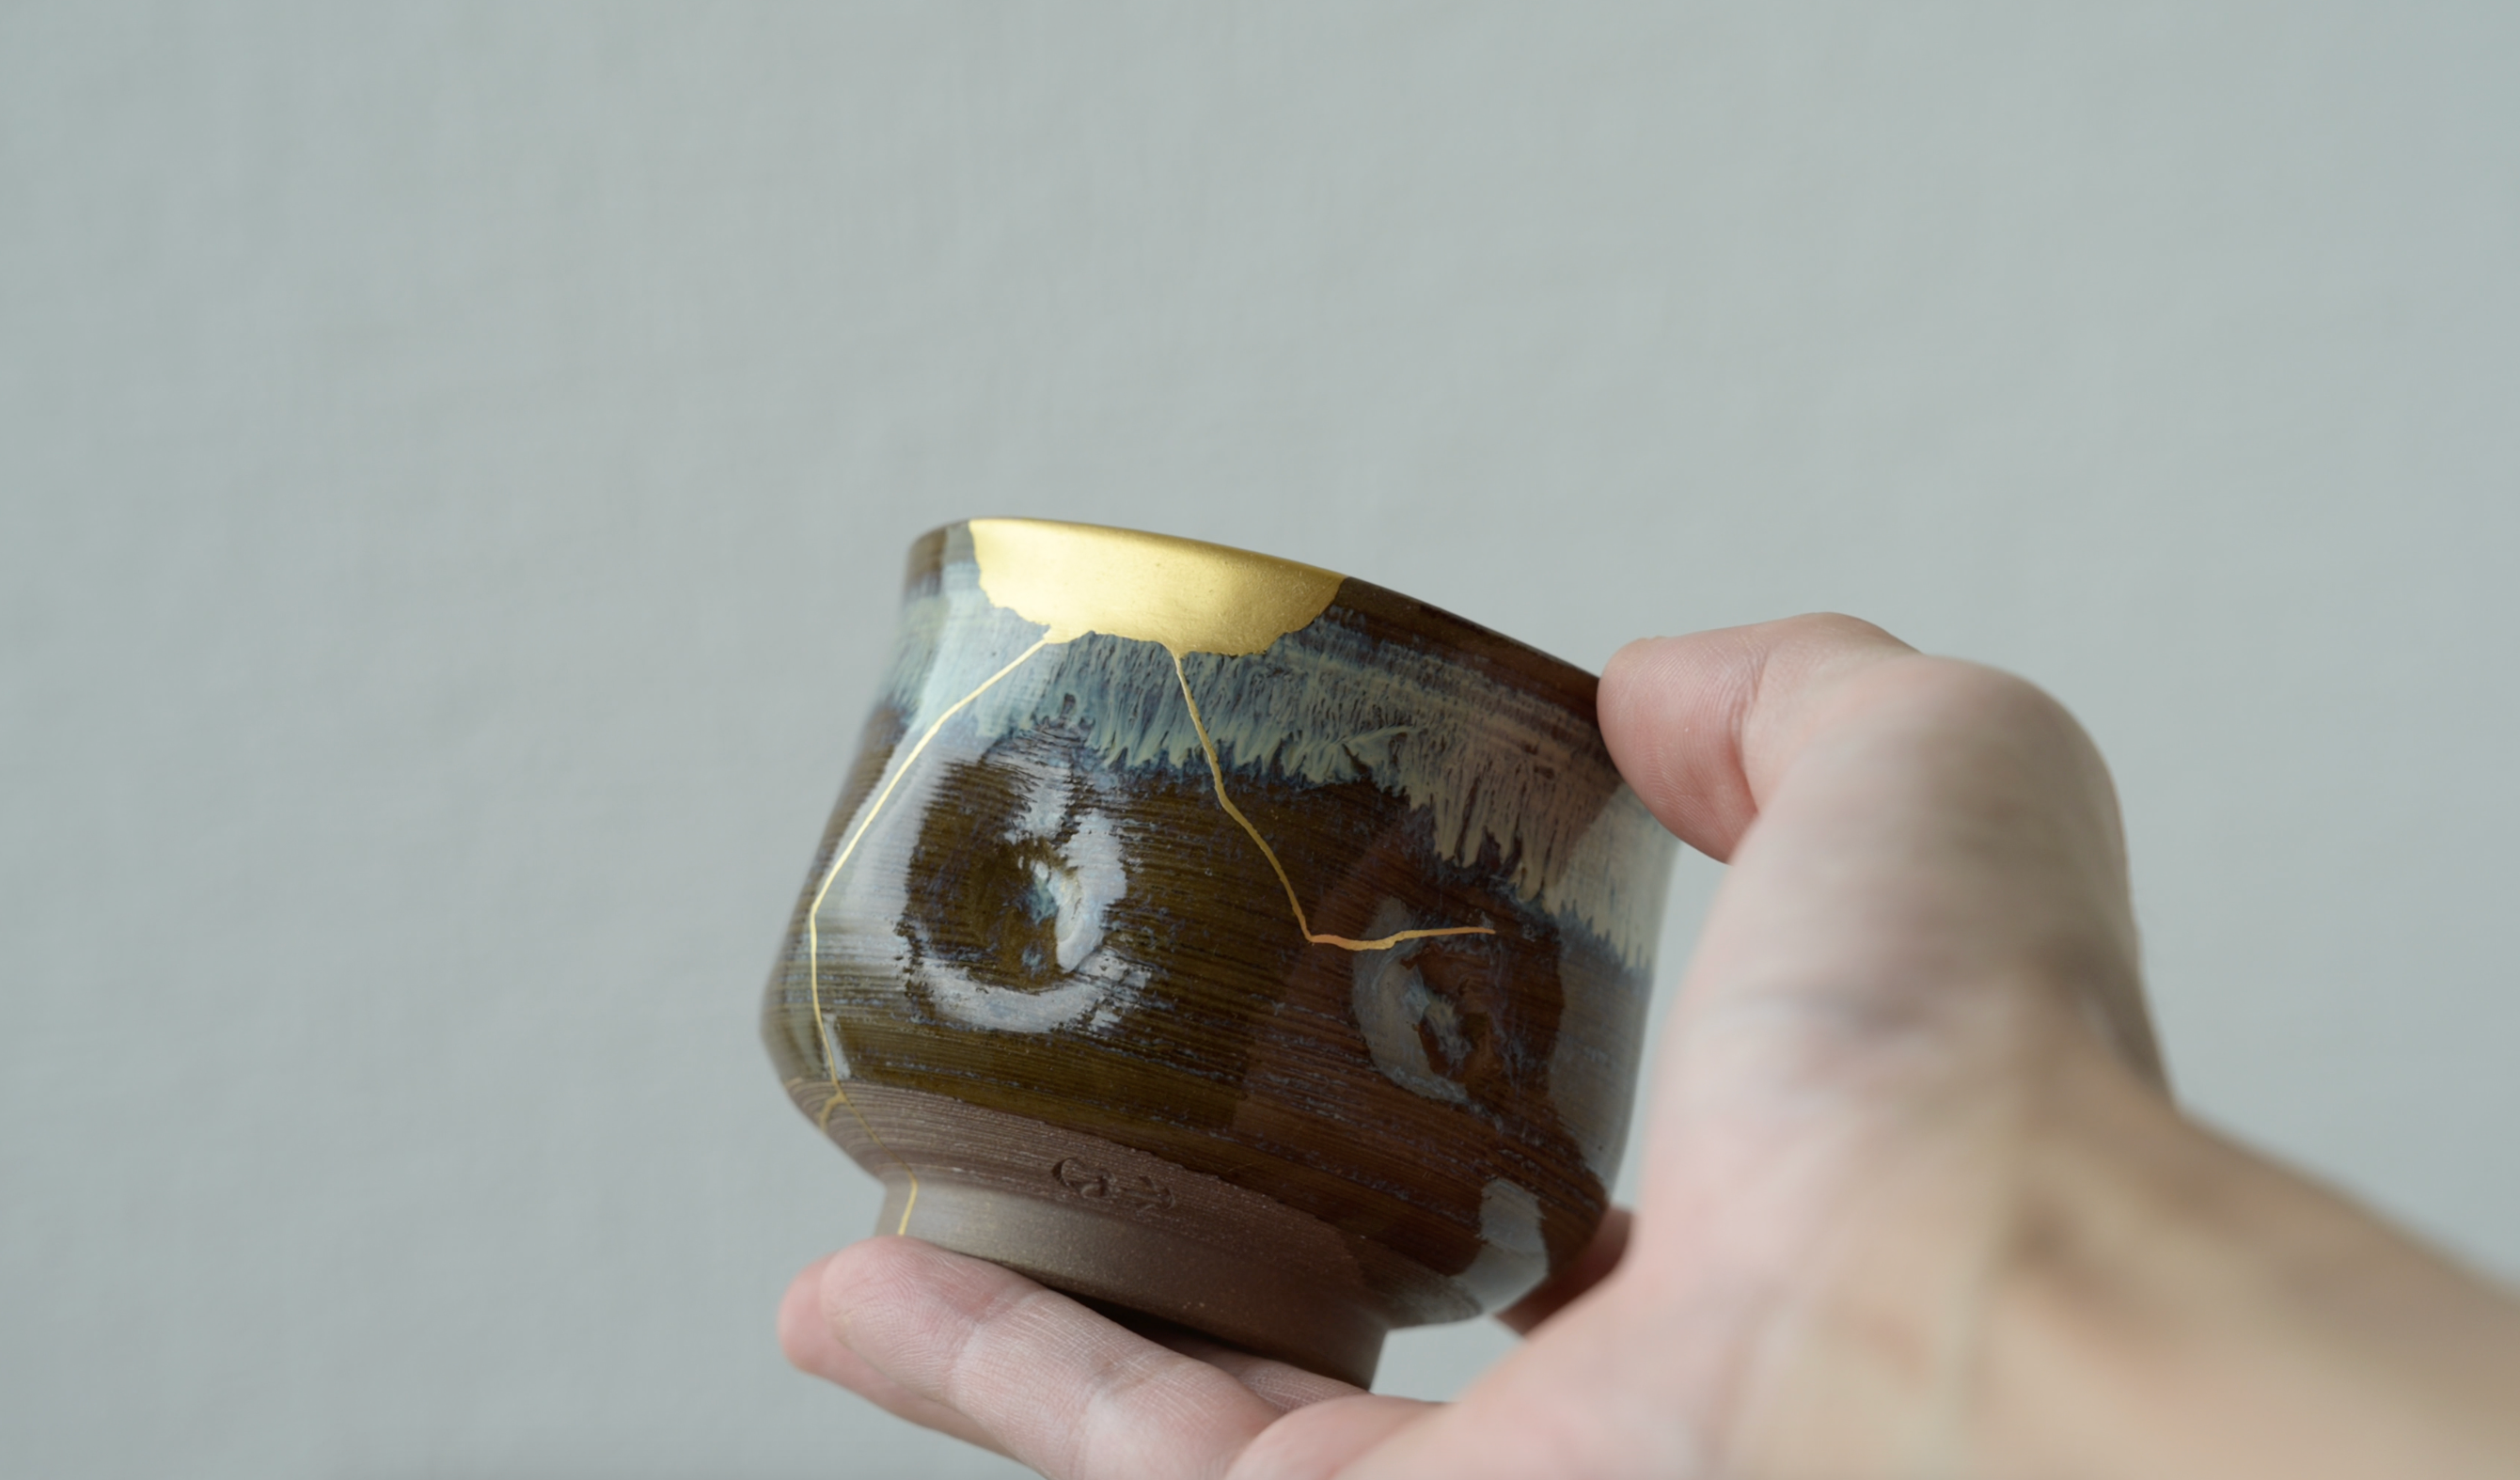
Wipe off excess gold dust on the surface with a tissue wet with water to complete the process.
The first step is to glue pieces together using a paste called "mugi urushi," which is made by kneading raw urushi, flour, and water.
Wait about a week for it to harden.
Once the mugi urushi has hardened, the next step is to fill the grooves with sabi urushi, a paste of raw urushi, tonoko, and water.
Wait for about three days for the sabi urushi to harden.
When the sabi urushi hardens, scrape off the excess and apply black urushi over it. bengara urushi is also acceptable.
Wait for about 3 days for it to harden.
After the urushi has hardened, file off any excess on the surface.
Then apply black or bengara urushi over the top again. This will make the seam flatter.
After applying the urushi, wait another 3 days for the urushi to harden.
Once the surface is polished as before and the seams are smooth, a thin coat of bengara urushi is applied over the surface.
Then, before the bengara urushi dries, gold powder is applied on top of it.
Wait about a week for the bengara urushi to harden.
Wipe off excess gold dust on the surface with a tissue wet with water to complete the process.
Learn Kintsugi
We have online courses with tutorial videos for those who want to learn kintsugi more deeply.